Imagine opening a jar of homemade raspberry pie filling in the dead of winter, the vibrant red hue and sweet-tart aroma instantly transporting you to the warmth of summer. Whether you’re a seasoned canner or a beginner eager to try something new, canning your own raspberry pie filling is a rewarding and practical way to preserve the season’s bounty. Not only does it save you money and eliminate unnecessary additives, but it also ensures you have a jar of pure, fruity goodness ready for pies, pastries, or even as a topping for pancakes and ice cream. With just a bit of effort, you can fill your pantry with jars of sunshine that will brighten any dessert. Let’s dive into the process and get started!
Essential Tools and Ingredients
Tools
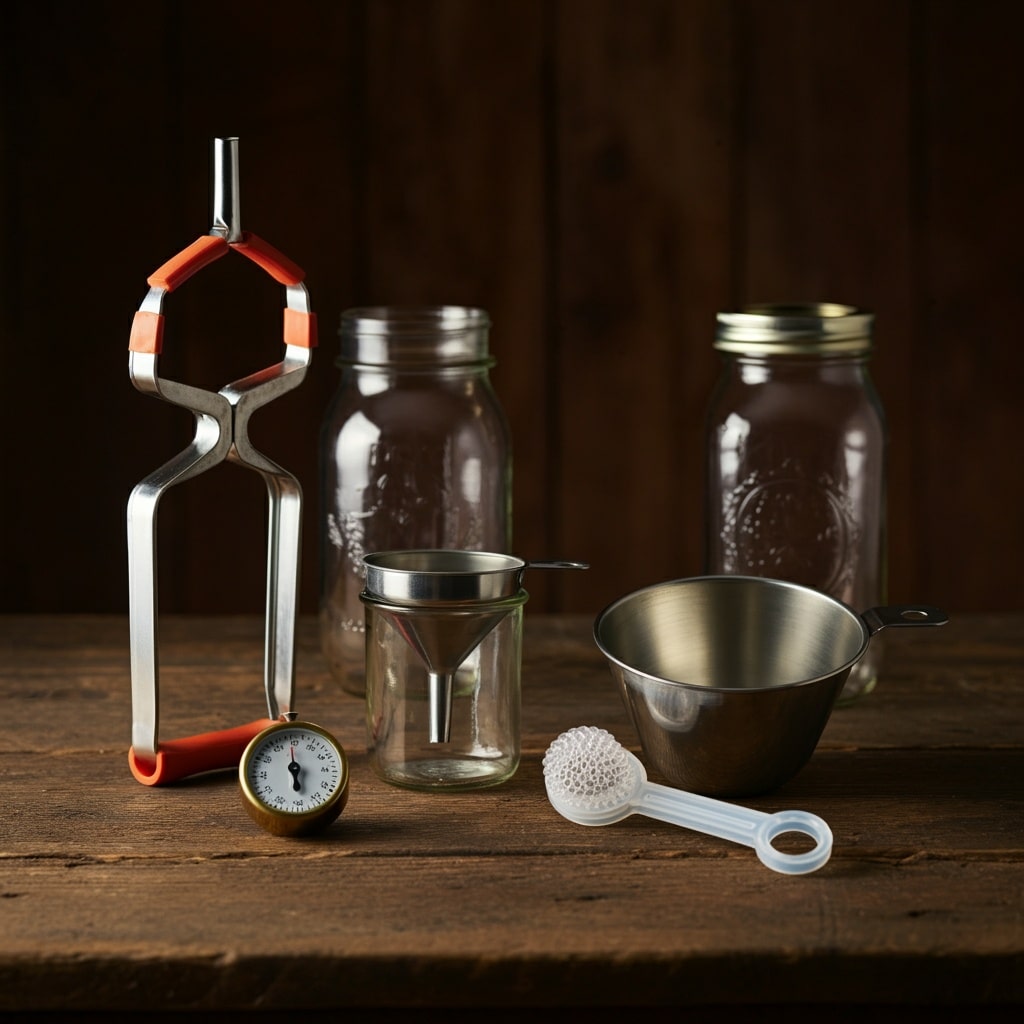
- Canning jars: Use pint or quart-sized jars suitable for pressure or water bath canning.
- Lids and bands: Ensure the lids are new and the bands are rust-free.
- Large pot or water bath canner: For processing jars.
- Jar lifter: Safely remove hot jars from boiling water.
- Funnel: Helps fill jars without spilling.
- Bubble remover/headspace tool: Ensures proper headspace and removes trapped air bubbles.
- Timer: For accurate processing times.
Ingredients
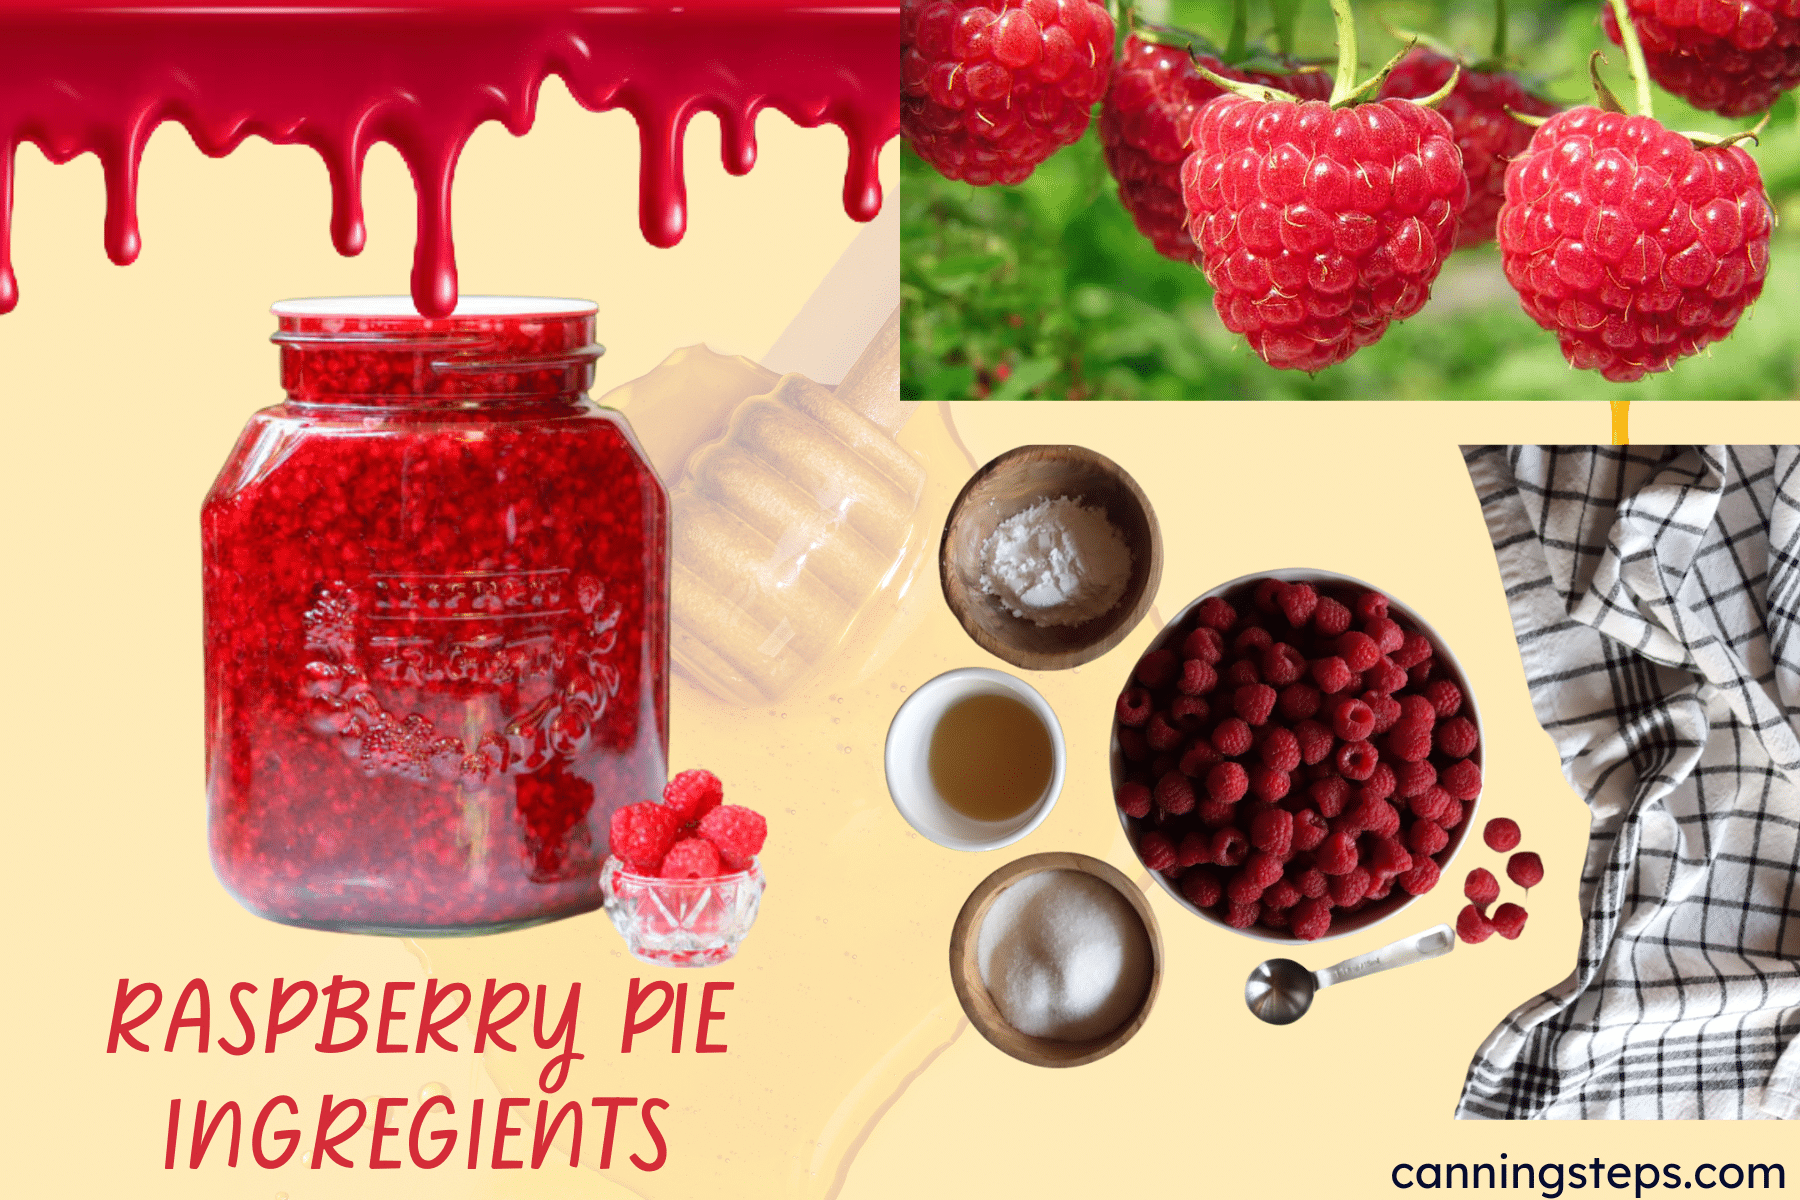
- Fresh raspberries: Approximately 6 quarts for a standard batch.
- Sugar: To sweeten the filling (adjust based on preference).
- Clear Jel (modified cornstarch): A reliable thickener for canning.
- Lemon juice: Maintains acidity and enhances flavor.
- Water: For dissolving ingredients and creating the syrup.
Step-by-Step Process
1. Prepare the Raspberries
Sort and Wash
- Gently sort through the raspberries to remove any stems, leaves, or damaged fruit. Wash them under cold running water, but avoid soaking, as raspberries are delicate and may absorb water.
Set Aside
- Place the washed raspberries in a bowl and keep them ready for combining with the syrup.
2. Sterilize Jars and Equipment
Clean Jars
- Wash jars, lids, and bands in hot, soapy water. Rinse thoroughly.
Sterilize
Submerge the jars in boiling water for 10 minutes to sterilize them. Leave them in hot water until ready to use.
3. Make the Syrup
Combine Ingredients
- In a large saucepan, whisk together water, sugar, and Clear Jel. Stir well to avoid lumps.
Cook the Syrup
- Place the saucepan over medium heat and cook the mixture. Stir constantly as it thickens and starts to bubble.
Add Lemon Juice
- Stir in the lemon juice and let the syrup cook for another minute to ensure it is fully incorporated.
4. Add Raspberries to the Syrup
Fold Gently
- Add the prepared raspberries to the thickened syrup. Stir gently to coat the raspberries evenly without breaking them.
Simmer
- Cook the mixture for 1-2 minutes, allowing the raspberries to soften slightly and absorb the syrup’s flavor.
Filling and Canning the Jars
1. Fill the Jars
Set Up
- Place a sterilized jar on a heat-safe surface. Using a funnel, ladle the hot raspberry pie filling into the jar.
Leave Headspace:
- Maintain 1 inch of headspace (the space between the filling and the jar’s rim) to allow for expansion during processing.
2. Remove Air Bubbles
- Use a bubble remover or a non-metallic spatula to eliminate trapped air bubbles. Insert the tool along the sides of the jar and press gently. Adjust the filling level if needed.
3. Wipe the Rim and Seal
Clean the Rim
- Wipe the rim of the jar with a damp, clean cloth to remove any residue.
Apply the Lid
- Center the lid on the jar, then screw on the band until it is fingertip tight.
4. Process the Jars
Prepare the Canner
- Fill the water bath canner with enough water to cover the jars by 1-2 inches. Bring the water to a boil.
Process the Jars
- Place the jars in the canner using a jar lifter. Process pint jars for 30 minutes and quart jars for 35 minutes at a rolling boil.
Altitude Adjustments
- Adjust processing times for altitudes above 1,000 feet. Add 5 minutes for every additional 1,000 feet.
Cooling and Storing
1. Cool the Jars
Remove Carefully
- After processing, use a jar lifter to remove the jars from the canner. Place them on a towel or cooling rack.
Let Cool
- Allow the jars to cool undisturbed for 12-24 hours.
2. Check the Seal
- Press the center of each lid. If it doesn’t pop back, the jar is sealed.
- If a jar hasn’t sealed, refrigerate it and use the filling within a week, or reprocess with a new lid.
3. Store the Jars
- Label the jars with the date and store them in a cool, dark place. Properly canned raspberry pie filling will last up to a year.
Using Your Raspberry Pie Filling
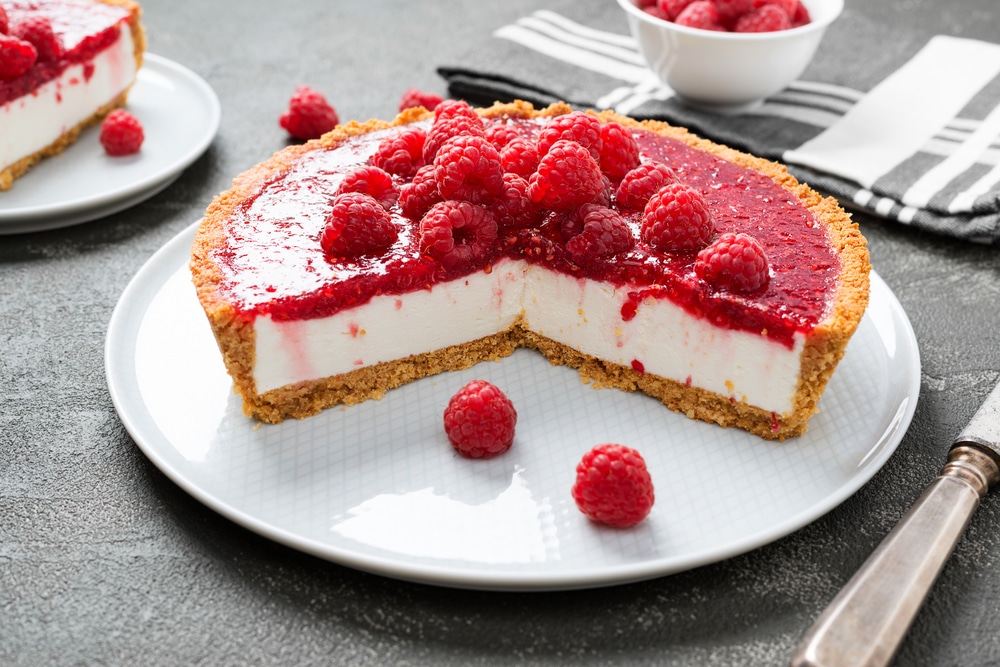
Now that your raspberry pie filling is canned, there are countless ways to enjoy it:
- Pie and Tarts: Use it as a ready-made filling for desserts.
- Pancake Topping: Add a fruity twist to breakfast.
- Ice Cream Add-In: Swirl it into vanilla ice cream for a delicious treat.
- Cheesecake Layer: Spread it as a topping over cheesecake.
Tips for Success
- Use Clear Jel: Regular cornstarch is not suitable for canning as it breaks down over time.
- Ensure Proper Headspace: Too little space can cause jars to overflow during processing.
- Be Gentle with Raspberries: Over-stirring can crush the berries and affect the texture.
- Follow Safety Guidelines: Always use the correct amount of lemon juice for proper acidity.
Why Can Raspberry Pie Filling?
Canning raspberry pie filling provides several benefits:
- Flavor preservation: Capture the peak-season freshness of raspberries.
- Convenience: Pre-made pie filling simplifies dessert preparation.
- Customization: Control sweetness and adjust the recipe to your preference.
- Economical: Utilize bulk or homegrown raspberries to save money.
Conclusion
Canning raspberry pie filling is a delightful way to preserve the essence of summer, ensuring you have a jar of fruity sweetness ready for any dessert or treat throughout the year. With the right tools, fresh ingredients, and a little patience, you can stock your pantry with jars of homemade pie filling that are bursting with flavor and free from unnecessary preservatives. Not only is it a practical skill, but it’s also deeply satisfying to create something so versatile and delicious from scratch.
Whether you’re baking a pie for a family gathering, topping pancakes for a weekend brunch, or simply enjoying it by the spoonful, your homemade raspberry pie filling will shine in every dish. Plus, the sense of accomplishment you’ll feel every time you pop open a jar makes the effort worthwhile. Start canning today and savor the sweetness of raspberries all year long.


