Who doesn’t like strawberries? When it’s time for summer, one of the things that comes to mind is our garden full of fresh strawberries. Many of you like homegrown strawberries rather than going for store-bought strawberries. Moreover, with strawberries comes the goodness of strawberry jam. And what better way there is than to make homemade strawberry jam? Hence, we have discovered the best strawberry jam canning recipe to enhance the level of your fruity kitchen. Let us first see how we can pick strawberries for canning.
Canning Strawberries
Discover the enchanted world of handmade delight with this delicious Canned Strawberry Jam recipe as one of the pressure canning recipes! Now that the early summer sun-kissed days have bestowed upon us the juiciest strawberries, it’s time to set out on a mission to preserve that delicious sweetness in a jar. Whether an experienced canner or a novice, your kitchen will become a jam-making paradise with just three ingredients. Prepare to enjoy the taste of summer all year long as we walk you through the precise yet surprisingly easy process of water bath canning. It just takes a little perseverance and commitment to make excellent jars of vivid, fresh-tasting strawberry jam. Let us go on this berrylicious journey where mastery comes from practice.
Choosing the Best Strawberries for Jam
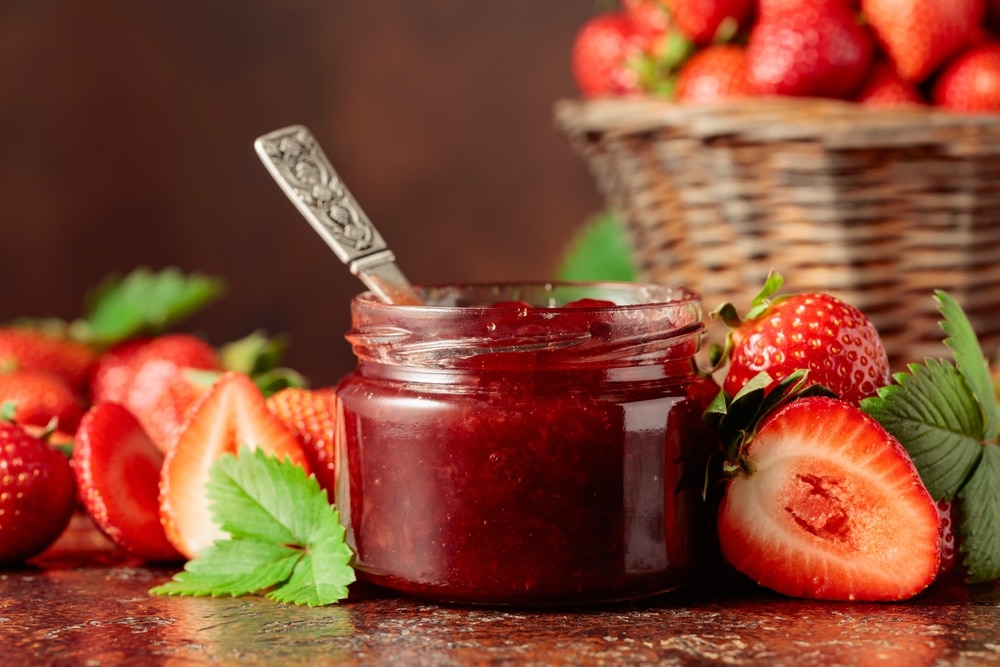
The secret to making the best-canned strawberry jam is selecting the right strawberries to boost your homemade treat. Though this dish was meant for those fun days at the U-pick farm, don’t let the limited strawberry season stop you.
- These red beauties add their sweet essence to the jam pot from your freezer or a nearby grocery shop.
- If choosing store-bought berries, seek large, bright, vibrant red berries with a perky green top; freshness is everything.
- You may also use thawed frozen strawberries, which will give your jam a hint of summer, even in the winter.
- Look for cartons of one or two pints or quarts at farmers’ markets. If you have ambitious plans to make jam, you might want to purchase a flat that holds twelve pints.
- Recall that the secret is to choose the best berries possible, ideally organic, to guarantee an explosion of flavor and avoid pesticide problems.
Thus, let the selection of strawberries from your backyard garden or the market be the first step toward a jar of perfection.
Tool for Stemming the Strawberries
Sometimes, it becomes a whole new and difficult task to remove the strawberries’ stems. However, you can still look for tools in your pantry to help you. Here’s the key to smooth strawberry preparation.
- These inexpensive, long, broad metal tweezers are the unappreciated star of the kitchen.
- These tools are revolutionary, whether tucked away in grocery stores next to the staples for cooking or positioned thoughtfully behind the strawberries.
- Get your kitchen crew, including the younger ones, involved in the stemming experience and set aside the fuss. Remove the stems carefully so that your berries stay whole.
Strawberry Jam Recipe for Canning
Here’s the recipe for a basic canning strawberry jam recipe.
INGREDIENTS
- 2 pounds of freshly hulled strawberries
- 4 cups of white sugar
- ¼ cup of lemon juice
Method
- In batches, mash the strawberries until 4 cups of mashed berries are achieved.
- In a heavy-bottomed saucepan, combine mashed strawberries mashed through a potato masher, sugar, and lemon juice; stir over low heat until sugar dissolves.
- Elevate the temperature to high and bring the mixture to a vigorous boil. Boil, stirring often, until the temperature reaches 220°F (105°C).
- Test the jam’s consistency after 10 to 15 minutes by putting a tiny dollop onto a frozen dish. If it gels, it’s done; if not, simmer it some more.
- Fill sterile jars with hot jam, leaving a quarter-inch headspace. Place lids on top and tighten the ring screws.
- Put a rack in a big stockpot and add water halfway up the rack. Once the water reaches a boil, carefully place the jars into it so that at least one inch of boiling water covers them.
After bringing it to a roaring boil;
- Simmer for ten minutes under cover.
- Take the jars out, rest for 12 to 24 hours, and then store them in a dark, cool place.
- Savor your handmade strawberry jam!
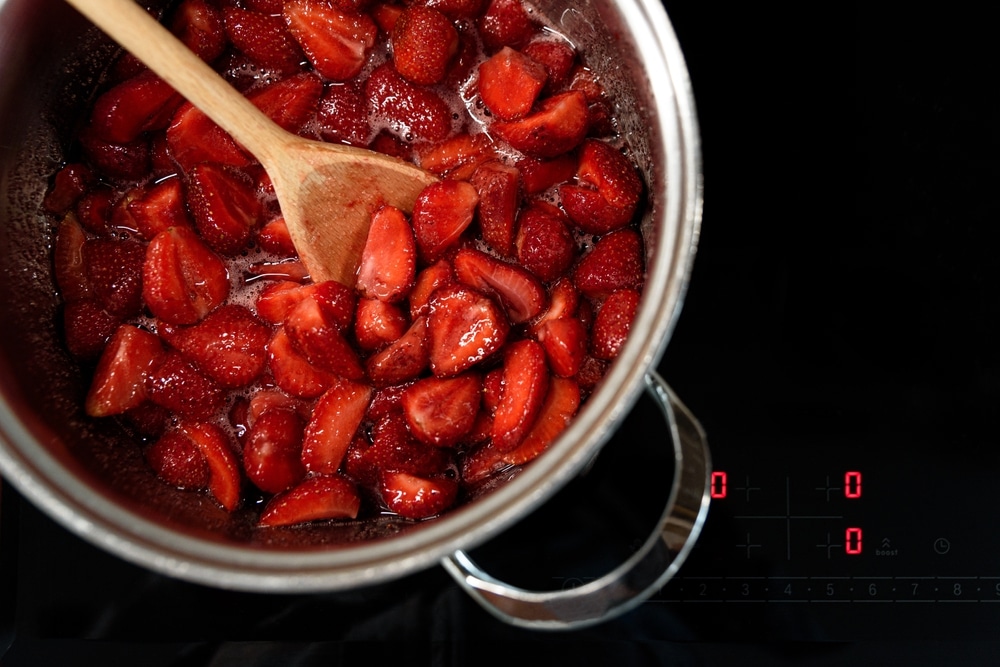
The Right Pot for Strawberry Jam and Jelly Recipe
The right pot can make all the difference in creating the ideal strawberry jam or jelly; wider is better. Choose a pot that has a lot of surface area. One of the favorites is a 5.5-quart enamelware saucepan. Its large size facilitates faster evaporation, so you can stop staring at the pot all the time and enjoy a wonderfully flavored jam. For this successful venture, any heavy-bottomed pot, stainless steel or enamel, with a non-reactive interior would work well. Thus, start your jam-making adventure with the right pot to ensure a fun and effective process from beginning to end.
Equipment for Canning Strawberry Jam
Appropriate instruments are essential for a successful and seamless procedure while producing and preserving strawberry jam. Equip yourself with these necessities:
- Six half-pint canning jars: these containers will safely hold your delicious jam.
- Six spotless new lids and metal bands that screw on are necessary to seal the jars and maintain their freshness.
- Canning tongs, or jar lifters, are the preferred tool for securely removing hot jars from the water bath.
- A canning funnel is a precise tool for funneling jam into jars without spilling any mess.
- The canning magic happens in the stockpot for the water bath; be sure it is big enough to submerge your jars.
- The water bath rack is a vital component of the pot that ensures uniform water distribution across the jars.
- With these essentials, you can master the art of canning strawberry jam and transform your kitchen into a delicious haven.
Low Sugar Strawberry Jam Canning Recipe
There must be many people amongst you who might be more interested in sugar-free strawberry jam recipe canning. Finding the availability of Low Sugar Strawberry Jam is a nice alternative for people who prefer just a hint of sweetness. Traditional preserves require a lot of sugar to prevent bacteria and prolong shelf life, but this low-sugar version is perfect for picky eaters.
Is sugar the good strawberry jam canning recipe to success?💡
The answer to this quest is no.
- One can really make a good edible strawberry jam without adding sugar; however, use caution when looking for reduced-sugar jam recipes because some may not be good for canning or have a lower shelf life.
- In contrast to other options like honey, incompatible with this specific recipe, the low-sugar method nonetheless assures a delicious, albeit less conventional, jam experience.
- Thus, if you prefer a less sweet, fruitier flavor profile, explore the world of Low Sugar Strawberry Jam recipes and experience the essence of strawberries in every delicious spoonful.
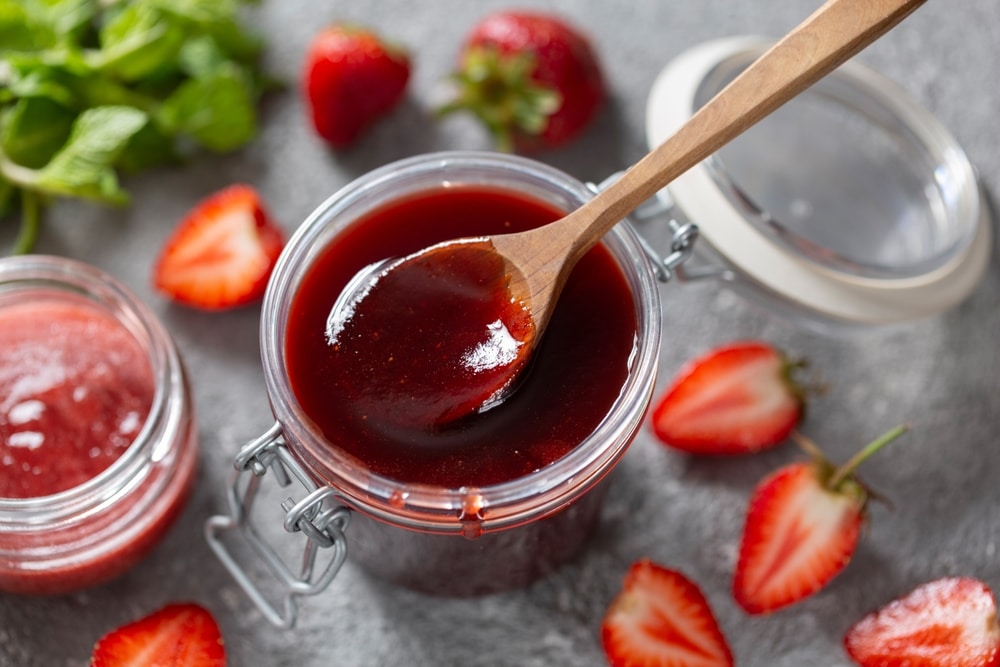
Strawberry Rhubarb Jam Canning Recipe
Making your own Strawberry Rhubarb Jam at home is a fascinating culinary adventure that delivers the ideal balance of sweetness and tanginess to your kitchen. First, pick your fresh rhubarb and strawberries, ensuring they are ripe and flavorful.
- Start cleaning and chopping the fruit, then put it all in a big pot with sugar and a vanilla bean for flavor intensity.
- Allow the mixture to slowly simmer until it thickens, releasing an enticing aroma into your kitchen.
- Sterilize your canning jars completely and get ready until their cooking time.
- When the jam is consistent, carefully spoon it into the jars and ensure the lids seal tightly to keep the excellent flavor and bright red color.
- You’ll feel a sense of satisfaction after filling each jar, knowing that you’ve preserved the essence of summer in a jar, ready to savor everything from ice cream to buttered biscuits or as a charming present for loved ones.
Preserving flavors is only one aspect of making strawberry-rhubarb jam; another is making memories and relishing the small pleasures of homemade sweetness.
Ball Canning Recipe for Strawberry Jam
If you’re looking for a strawberry jam canning recipe with pectin, this one might just be the one for you.
INGREDIENTS
- 5 cups (about almost 5 pounds) of crushed strawberries
- 1/4 cup of lemon juice from a bottle
- Ball® RealFruit Classic Pectin, six tablespoons;
- 7 cups granulated sugar
METHOD
- Set up a canner with hot water and warm the jars.
- Rinse off lids and reserve bands.
- Lemon juice and crushed strawberries should be combined in a big pot.
- Bring the mixture to a roaring boil while gradually stirring in the pectin.
- Return to a rolling boil for one minute after adding the sugar and stirring until it dissolves.
- Take off the heat and, if needed, skim the foam.
- Allow ¼ inch of headspace when ladling hot jam into hot jars.
- Wipe the jar rims and remove any air bubbles.
- Put the bands on the jar’s fingertip tight and center the lids.
- After correcting for altitude, process the jars in a boiling water canner for ten minutes.
- Shake the jar of jam well, remove the lid, and let the jam set for five minutes.
- After removing the jars, chill for 12 to 24 hours.
- Before storage, verify the seal on the lids.
If you don’t want to make a large-scale strawberry jam, you can always choose a small-batch recipe using just strawberries, sugar, and lemon juice.
Final Thoughts 🍓
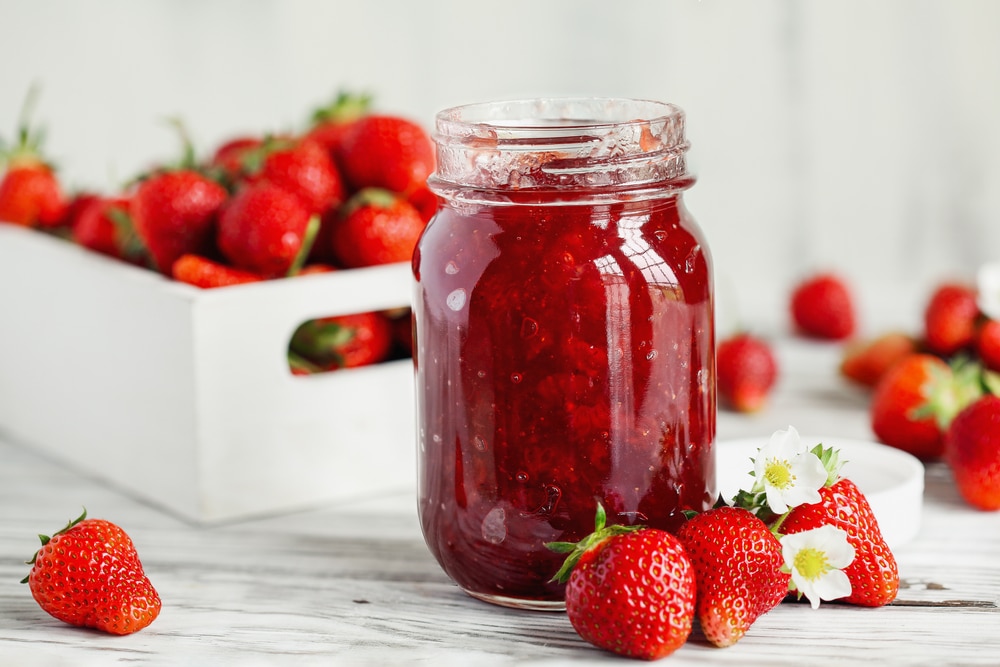
Wrapping up, when it comes to handmade treats, nothing tastes quite as good as making your own jar of delicious Strawberry Jam. A fruity taste explosion awaits you with every spoonful of the strawberry jam canning recipes, regardless of your experience with homemade preserves. This recipe makes it easy to follow and guarantees a flawless set every time by using the ideal amounts of sugar, crushed strawberries, and lemon juice. Enjoy the moment when those fresh strawberries become a velvety jar of perfection, ready to dress up your favorite dessert or use as a garnish for your morning toast.
In conclusion, every stage of the process, from the full rolling boil to the satisfying pop of the shut lid, is evidence of the magic that is homemade jam. So put on your apron, put some canning supplies away, and go on a tasty and fulfilling culinary journey.
ENJOY A BERRYLICIOUS JAM!


