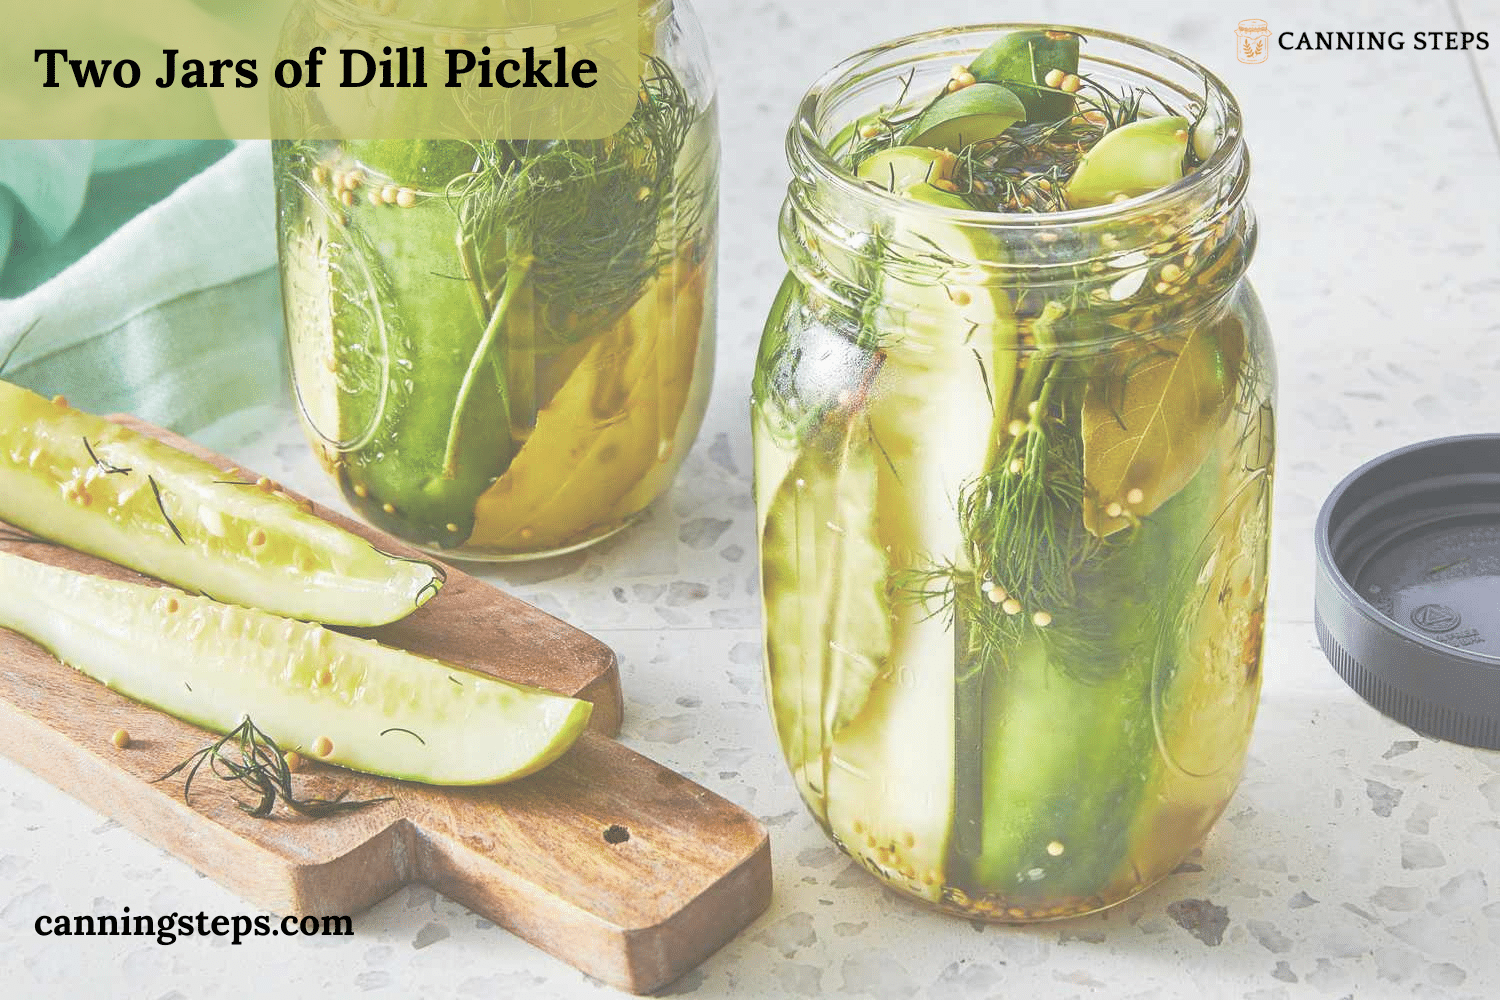
Have you always been using store-bought pickles? If yes, stop right here, as I am about to unravel the best recipe for pickle star, i.e., dill pickle. This culinary delight goes beyond ordinary pickles and creates magic with the pungent taste of garlic and the right amount of earthy dill seeds. Just like the goodness of cucumber pickles, the dill pickle is sure to tantalize your tastebuds. So, without any further ado, let’s get into the recipe. I am sure you will not buy store-bought pickles once you get comfortable with the ease of this homemade dill pickle recipe.
Dill Pickle Recipe for Canning

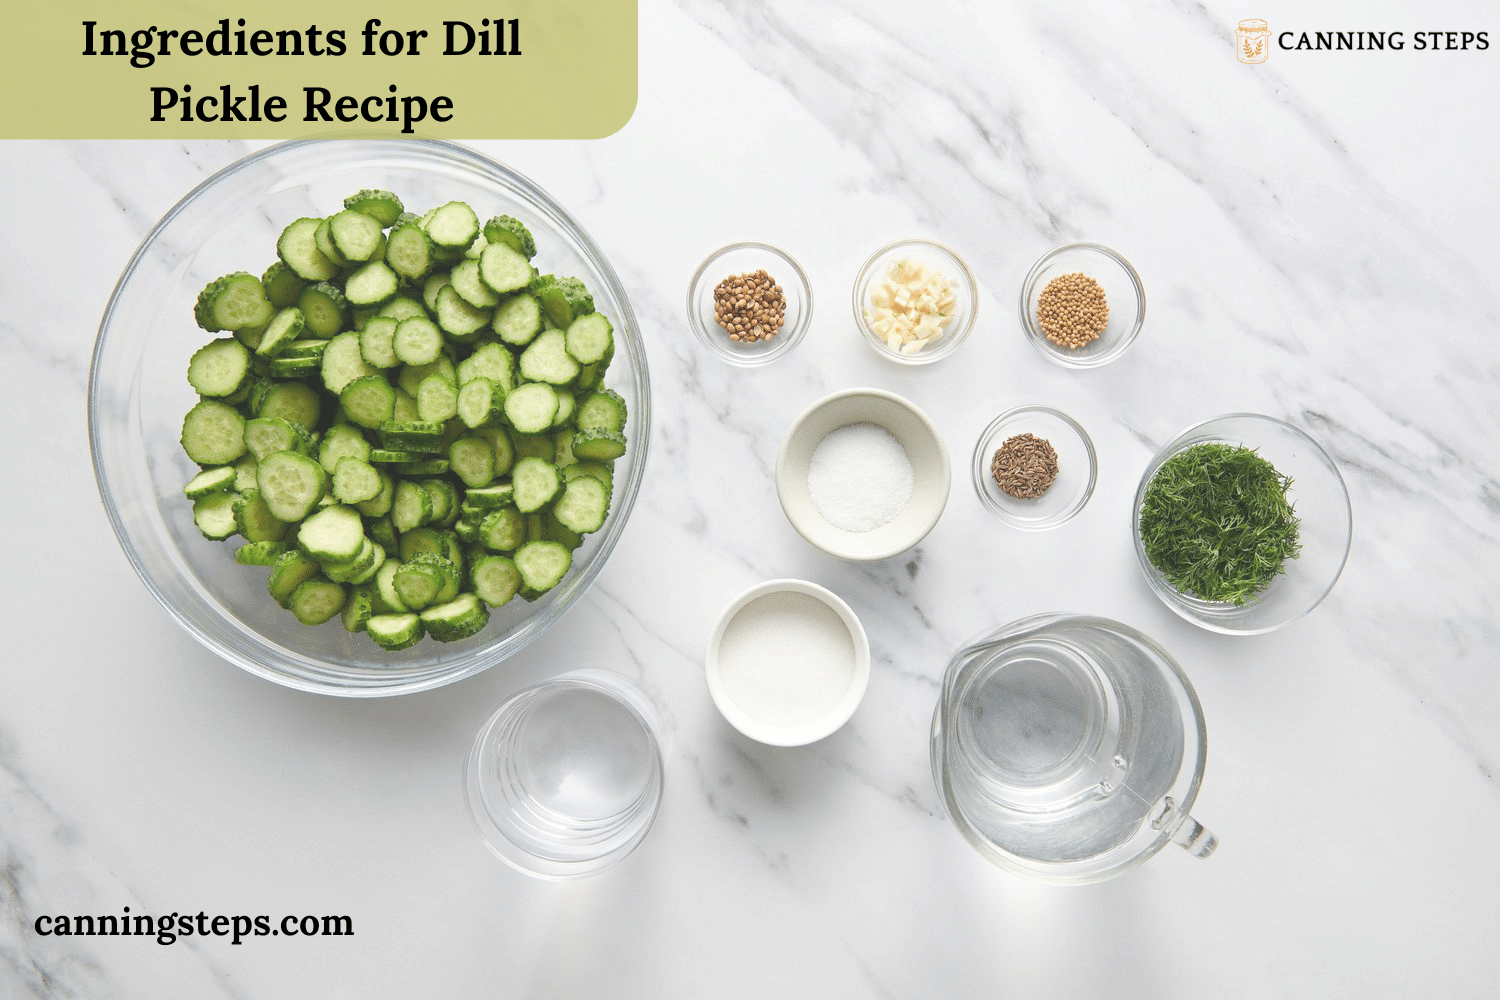
Ingredients for Dill Pickle Recipe

For the Pickles
Below are the ingredients for the famous kosher dill pickle recipe for canning.
- 4–5 small pickling cucumbers (pickling or Kirby cucumbers work best)
- 2–3 fresh sprigs of dill seed
- 4–6 peeled and smashed garlic cloves
- One little onion, sliced thinly (optional)
- 1 tablespoon of pickling spices
- One teaspoon of mustard seeds
- One teaspoon of ground black pepper
- One teaspoon of sesame seeds
- One or two bay leaves
- 1/2 teaspoon of spicy red pepper flakes
Have you gathered the ingredients needed to make this ultimate culinary delight? Well, most of the ingredients are easily found at home. Now that you have all the ingredients to create magic in the form of pickles, you are one step closer to the recipe for canning dill pickles.
For the Brine
- 2 cups water
- 1 cup distilled white vinegar
- 1/4 cup kosher salt (pickling salt)
- 1 tablespoon powdered sugar.
Equipment
- Quart Jars with sterilized lids
- A big saucepan that has boiling water
- A smaller brine pot
- An optional canning funnel
- A jar lifter or tongs
- Paper towels or clean cloth
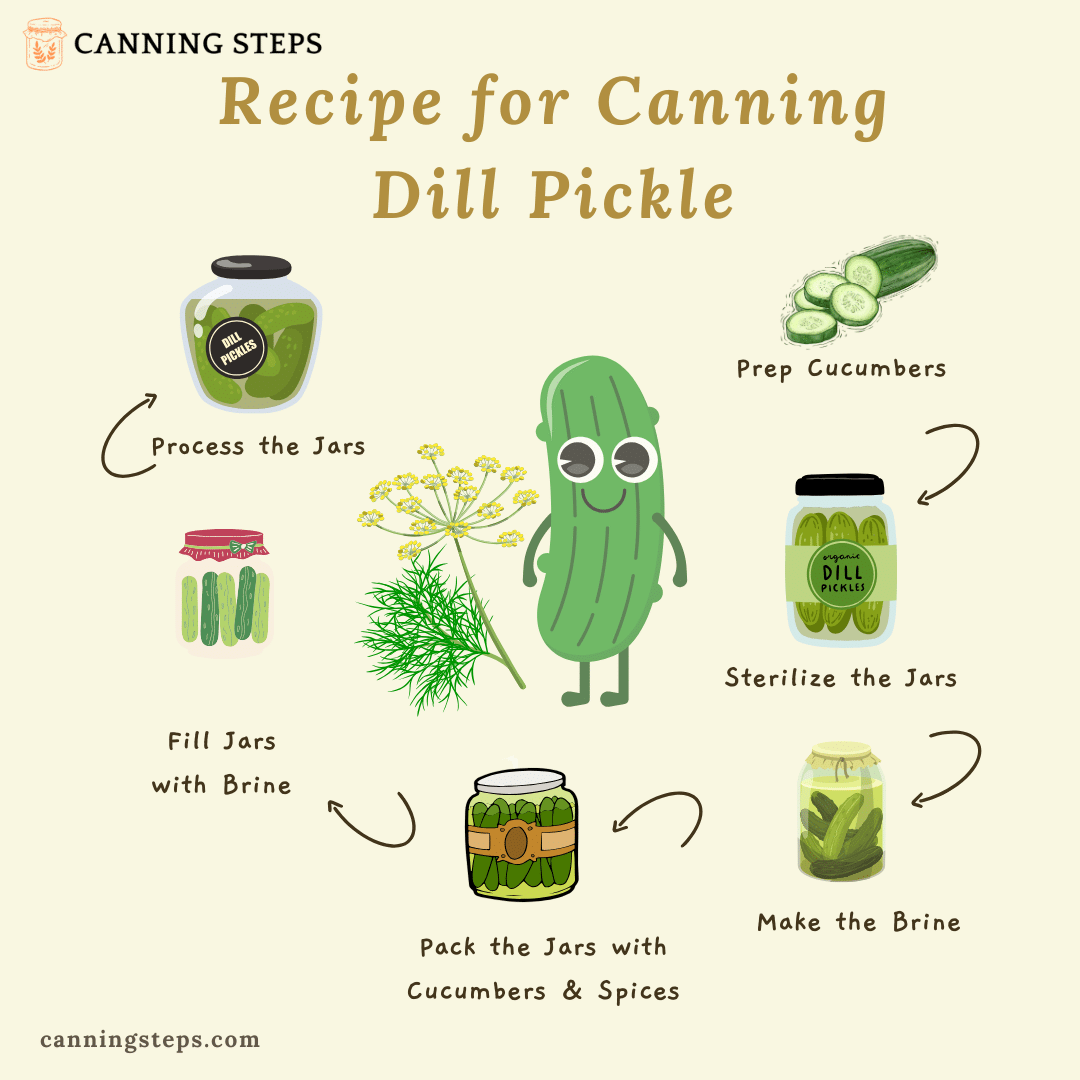
Detailed Recipe for Canning Dill Pickles

Folks, all you have to do is follow the step-by-step recipe for dill pickles for canning so you don’t miss any step.
Prep the Cucumbers
- Wash & scrub: Clean your cucumbers under cold water.
- Trim ends: Cut off 1/8 inch from each end to prevent soft pickles.
Sterilize the Jars
- Boil jars: Boil Mason jars and lids for 10 minutes to sterilize.
- Dry: Carefully remove jars and lids, then let them dry.
Make the Brine
- Mix brine: Combine water, vinegar, sugar, and salt in a pot.
- Boil: Stir and bring it to a boil until dissolved.
- Cool: Let the brine cool slightly.
Pack the Jars
- Add spices: Place garlic, dill, onion (optional), pickling spices, mustard seeds, and pepper into each jar.
- Add cucumbers: Pack them tightly but gently.
Pour the Brine
- Fill jars: Pour hot brine into jars, leaving 1/2 inch headspace.
- Release air bubbles: Tap jars to remove trapped air.
- Seal: Wipe rims and tighten lids.
Process the Jars
- Boil: Submerge jars in boiling water for 10-15 minutes.
- Cool & seal: Let the jars cool and listen for that satisfying “pop.”
Relish the Wait
- Marinate: Let the pickles sit in the fridge for at least a week.
- Serve: Enjoy your homemade pickles on sandwiches, as a side, or just on their own!
And that’s it—simple, tasty, and ready to relish!
However, one recipe can be made using several methods, so if you want some information about variations of dill pickle, check out Cheyanne’s article.
Additional Tips
- Select the right cucumbers: A crisp pickle requires firm, fresh cucumbers.
- Maintain crispness: To keep the pickles crunchy, add a few grape leaves or a tiny bit of calcium chloride (found in canning sections) to each jar.
- Try other flavors: To suit your tastes, add more or less garlic, dill, and other spices.
- Proper sealing: Make sure jars are well sealed to prevent deterioration. Store the pickles in the refrigerator and use them within a month if a jar does not seal.
Conclusion
Summing up, the article entails a detailed recipe for dill pickles as a delightful addition to ordinary meals. You can follow the easiest recipe for canning dill pickles to relish and savor every bite. So, fill the jars and enjoy this tangy, zesty side dish.
Refreshing Twist to Your Ordinary Meals!


