Imagine savoring the rich, earthy taste of perfectly seasoned collard greens long after the harvest season has passed. Canning these nutrient-packed greens not only locks in their long-lasting flavor but also brings the essence of home-cooked comfort to your pantry. Using a pressure canner ensures that your collard greens stay fresh and safe to eat, while simple additions like garlic powder and red pepper flakes elevate their flavor to the next level. Ready to learn the secret to preserving your greens? Let’s dive into the easiest canning collard greens recipe, preserving the Southern flavor for year-round enjoyment.
What is Collard Green?

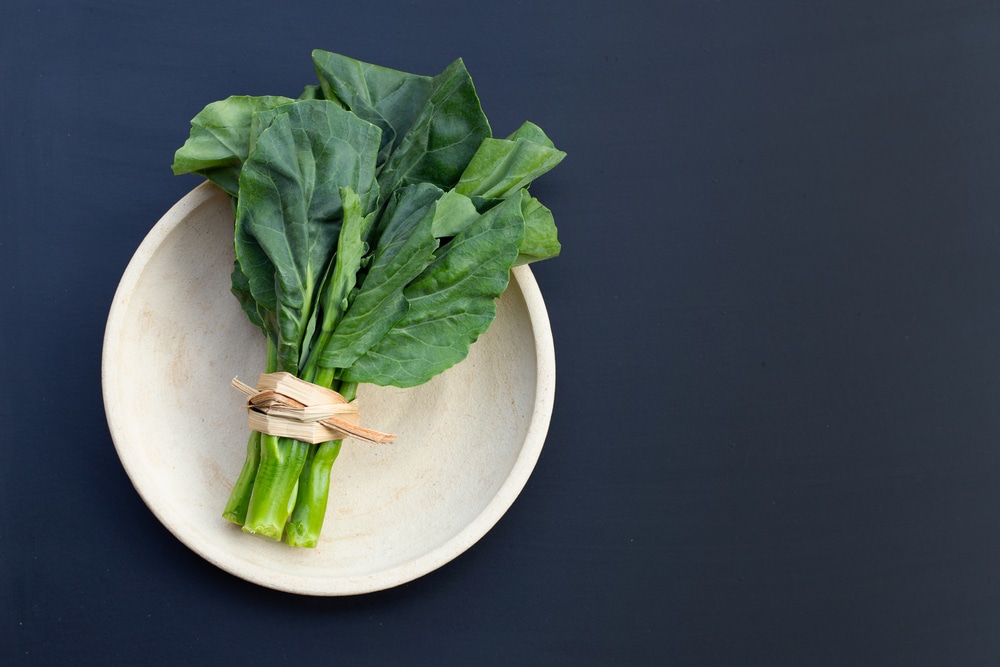
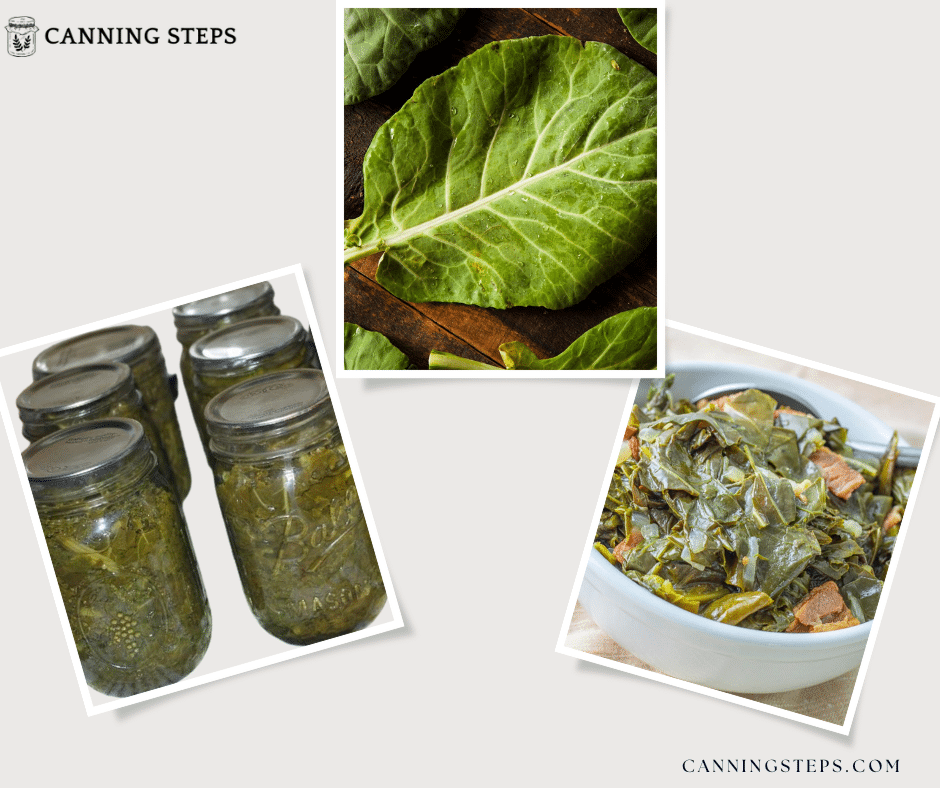
Collard greens are a type of leafy green vegetable commonly grown in regions with a temperate climate, particularly in the southern United States. They are part of the Brassica oleracea species, which also includes kale, broccoli, cauliflower, and cabbage.
Ingredients
- Only freshly harvested greens (such as collard greens)
- 2 teaspoons garlic powder
- 1 teaspoon red pepper flakes (optional)
- Fresh, filtered boiling water
Equipment
- Dial gauge pressure canner or weighted gauge
- Quart jars
- Large pot for blanching greens
- Canning funnel
- Tongs and jar lifter
- Jars loosely with greens and add fresh boiling water, leaving 1-inch headspace
Instructions For Canning Collard Greens

Prepare the Greens
Start by selecting only the best, freshly harvested greens. You want spinach and other greens like collard greens to be as fresh as possible to ensure the best flavor. Cut out tough stems and midribs, leaving just the tender leaves. Wash the greens thoroughly to remove any dirt or pesticides.
Blanch the Greens
In a large pot, bring water to a boil. Place the prepared greens in the water, ensuring they are fully submerged. Blanching greens helps to preserve their color, texture, and flavor. Blanch them for 2-3 minutes, and then immediately transfer the greens to an ice bath to stop the cooking process. Once cooled, drain the greens well.
Fill the Jars
Using a canning funnel, begin to fill jars with the blanched greens. Pack the greens tightly but leave 1-inch headspace at the top. It’s important not to pack the greens too tightly, as the expansion during canning needs space to prevent breakage.
Add Seasoning
Sprinkle a pinch of garlic powder and red pepper flakes into each jar to add flavor. You can adjust the amount of seasoning based on your taste preferences.
Add Boiling Water
Once your jars are filled with greens and seasoning, fill jars loosely with greens and add fresh boiling water, leaving 1-inch headspace. Make sure the water covers the greens completely, but leave the proper headspace to ensure a proper seal during pressure canning.
Seal the Jars
Wipe the rims of the jars with a clean towel to ensure there are no food particles that could interfere with the seal. Place lids on the jars and screw on the rings, but don’t over-tighten.
Pressure Canning
Place the jars in a pressure canner with the correct amount of water as indicated by your canner’s instructions. For dial gauge canners, process the jars at 10 pounds of pressure for about 65 minutes for quart jars. If you are using a weighted gauge, the pressure may differ, so be sure to follow your canner’s instructions. Explore delicious pressure-canning recipes to enjoy flawlessly preserved, long-lasting, nutrient-rich treats.
Cool and Store
After processing, carefully remove the jars from the pressure canner and allow them to cool on a clean towel. Once the jars are cool, check the seals by pressing down on the center of the lids. If the lid doesn’t pop back, it’s sealed. Label your jars with the date and store them in a cool, dark place. Store canned collard greens in a cool, dark place. Properly canned greens can last up to 1-2 years.
Serving Ideas
Reheat the greens with smoked meats like ham hocks or bacon for a traditional Southern dish, or add them to soups and stews for a hearty meal. Enjoy the rich, earthy flavor of your canned collard greens any time of year!
Conclusion
You can enjoy your canned collard greens throughout the year, full of flavor and perfectly preserved with this canning collard greens recipe. Remember, the key to great results is to use only freshly harvested greens, properly blanching greens, and leaving the correct 1-inch headspace when pressure canning. Whether enjoyed on their own or mixed into dishes, canned collard greens are a versatile and delicious addition to your pantry. Enjoy the rich, earthy flavor of your canned collard greens any time of year!


