Spice lovers want more than a hint of chili in their everyday meals. If you’re a fan of hearty, flavorful chili, you’ll love the convenience of having your favorite canned chili recipe on hand whenever the craving strikes. By learning the art of canning chili, you can preserve this delicious dish for months, making it easy to enjoy a warm, comforting bowl of chili anytime. This guide will walk you through the process of making and canning chili at home, covering everything from preparing the ingredients to using proper pressure canning chili methods. Whether you’re new to canning chili beans or looking to refine your skills, this recipe is perfect for you.
Ingredients for Your Canned Chili

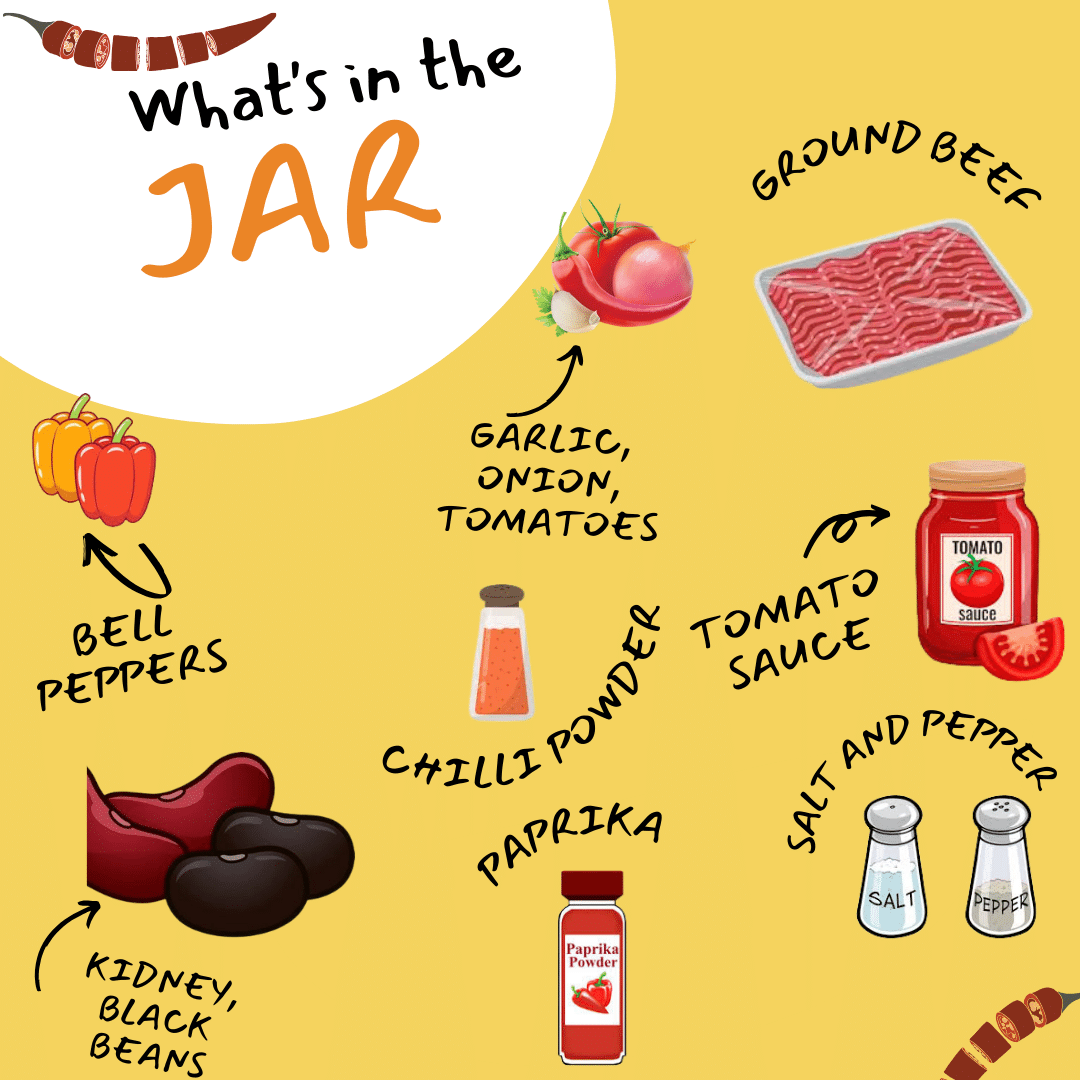
To make a batch of canned chili that bursts with flavor, you’ll need the following ingredients:
- 2 lbs of ground beef or your preferred protein (ground turkey, chicken, or a vegetarian alternative)
- 1 large onion, finely chopped
- 2 cloves of garlic, minced
- Bell peppers
- 1 can (15 oz) of diced tomatoes
- 1 can (15 oz) of tomato sauce
- 1 can (15 oz) of kidney beans, drained and rinsed
- 1 can (15 oz) of black beans, drained and rinsed
- 2 tablespoons of chili powder
- 1 tablespoon of cumin
- 1 teaspoon of paprika
- 1 teaspoon of oregano
- Salt and pepper to taste
- 1 cup of beef or vegetable broth
Step 1: Prepare the Chili
Once you’ve gathered your ingredients, it’s time to start cooking. Follow these steps to prepare your chili for canning:
Brown the Meat
If you’re making canning chili with meat, start by browning the meat in a large pot over medium heat. Break it into small pieces as it cooks, ensuring that it’s fully browned and no pink remains. Drain any excess fat from the pot.
Sauté the Vegetables
Add chopped onions, bell peppers, and garlic to the pot with the browned meat. Cook until the vegetables are soft and fragrant, about 5-7 minutes.
Add the Spices
Stir in your chili powder, cumin, paprika, oregano, and any other desired spices. Cook for an additional 2-3 minutes to allow the spices to release their flavors.
Add Tomatoes and Liquid
Stir in the tomato paste or sauce, followed by the tomatoes (if using). Add broth or water to reach your desired chili consistency. Bring the mixture to a simmer and let it cook for 30-45 minutes, stirring occasionally.
Add the Beans
If you’re using canned beans, drain and rinse them before adding them to the chili. If you’re using cooked beans, stir them in. Let the chili cook for another 10-15 minutes to allow the flavors to meld.
Also, learn the step-by-step method of how to can beans at home through a pressure canner to prepare hassle-free meals.
Taste and Adjust
Before moving on to canning chili, taste your chili and adjust the seasoning as needed. If you prefer a thicker chili, let it simmer a bit longer to reduce the liquid. If it’s too thick, add a bit more broth or water.
Step 2: Canning the Chili
Now that your chili is ready, it’s time to move on to canning. The process of canning chili involves using a pressure canner, which is essential for safely preserving chili with meat or beans. Here’s how to can chili with beans and meat using a pressure canner.
Prepare Your Jars and Lids
Wash your canning jars, lids, and rings in hot, soapy water, then rinse them thoroughly. Place the jars in a pot of hot water or in your dishwasher’s “sterilize” cycle to keep them warm. Keeping the jars hot prevents them from cracking when you add the hot chili.
Fill the Jars
Using a ladle, fill each jar with your prepared chili, leaving about 1 inch of headspace at the top. This space is crucial as it allows the chili to expand during the canning process without breaking the jar. Wipe the rims of the jars with a clean, damp cloth to remove any food particles that could prevent a proper seal.
Apply the Lids and Rings
Place the lids on the jars, then screw the rings on until they are fingertip-tight. Do not overtighten, as air needs to escape during the pressure canning chili process.
Set Up the Pressure Canner
Fill your pressure canner with the recommended amount of water (check your canner’s instructions). Place the jars in the canner on the rack, making sure they are not touching each other or the sides of the canner.
Seal and Heat the Canner
Secure the lid of the pressure canner and turn the heat to high. Allow the canner to vent steam for about 10 minutes before placing the weight or gauge on the vent. Once the canner reaches the appropriate pressure (usually 10-11 PSI for most recipes), start the timer. The canning time will depend on the jar size and the type of chili you’re canning. Generally, pint jars require 75 minutes, while quart jars need 90 minutes.
Monitor the Pressure
Maintain steady pressure throughout the canning process. Adjust the heat as needed to ensure consistency. Avoid sudden drops in pressure, as this can result in under-processed chili.
Cool the Canner
Once the processing time is complete, turn off the heat and let the canner cool down naturally. Do not attempt to open the canner until the pressure has fully dropped. This can take 30-45 minutes, depending on the size of your canner.
Remove the Jars
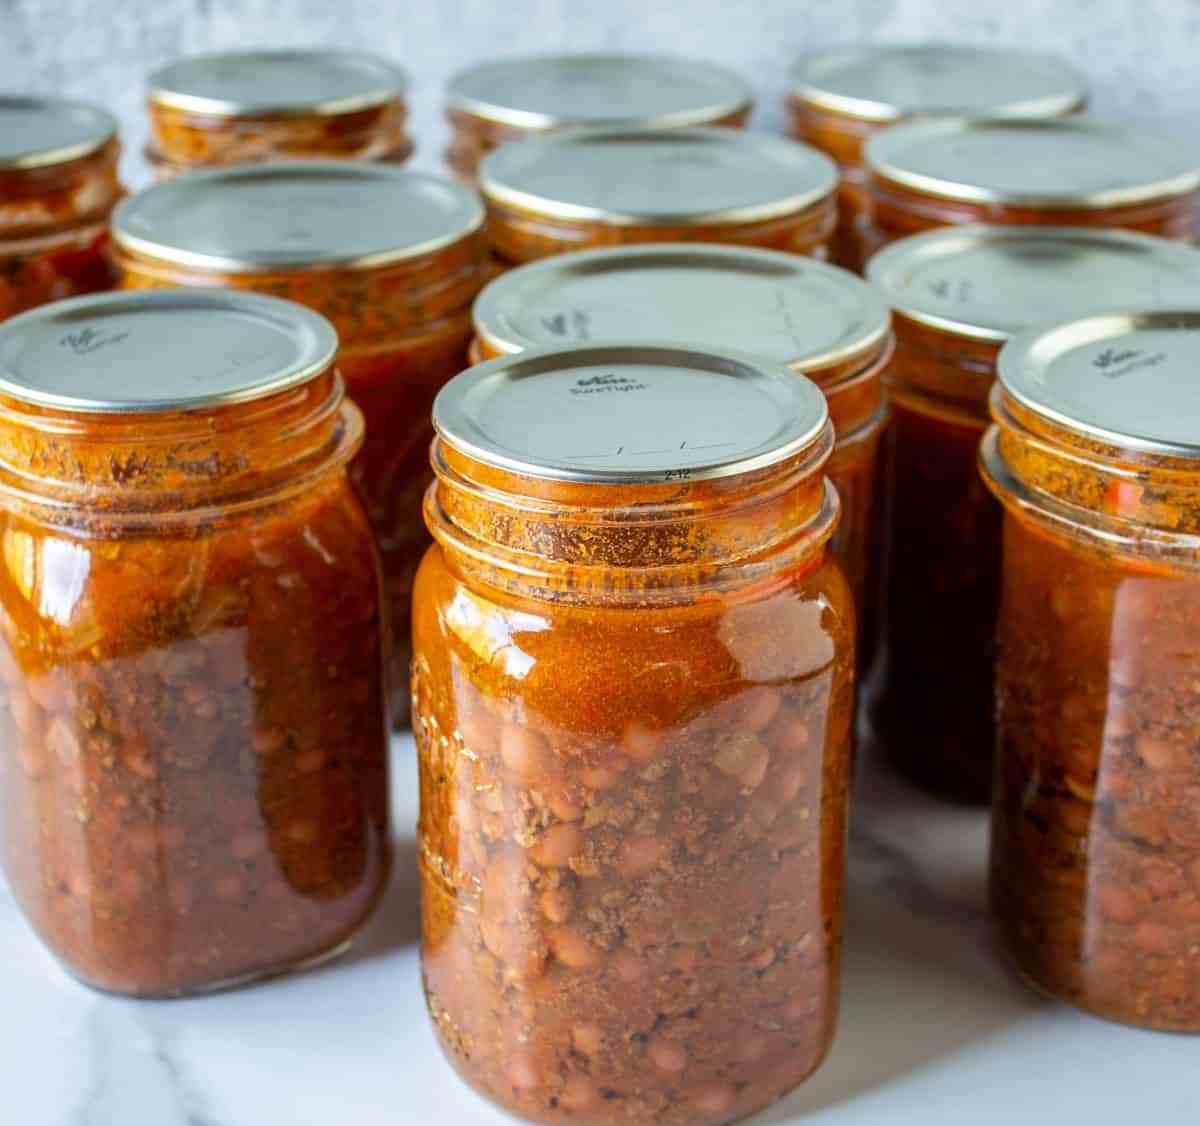
Carefully remove the jars from the canner using jar lifters and place them on a towel or cooling rack. Allow the jars to cool undisturbed for 12-24 hours. As the jars cool, you should hear the lids “pop,” indicating a proper seal.
Check the Seals
After the jars have cooled, check the seals by pressing down on the center of each lid. If the lid does not flex, the jar is properly sealed. If any jars do not seal correctly, you can reprocess them or store them in the refrigerator for immediate use.
Store and Enjoy
Now that you’ve successfully made canned chili, it’s time to store your jars. Label each jar with the date and contents, then store them in a cool, dark place, such as a pantry or basement. Properly canned chili can last up to a year, allowing you to enjoy your favorite chili anytime you want.
When you’re ready to eat your canned chili recipe, open a jar, heat the chili on the stove or in the microwave, and serve. You can enjoy your chili as is or use it as a topping for hot dogs, nachos, baked potatoes, or even as a filling for tacos or burritos.
Tips for the Best Canned Chili
Use Fresh Ingredients
The fresher your ingredients, the better your canned chili recipe will taste. Fresh vegetables, high-quality meat, and freshly ground spices will make a noticeable difference.
Experiment with Flavors
Don’t be afraid to customize your canned chili recipe with different spices, vegetables, or beans. Try adding corn, zucchini, or even sweet potatoes for a twist on the classic recipe.
Properly Seal Jars
Ensure that your jars are sealed correctly during the canning process. A proper seal is vital for food safety and longevity.
Store Safely
Store your canned chili in a cool, dark place to preserve its flavor and quality.
Pressure Canner
For canning chili, always use a pressure canner to ensure safety.
Label Your Jars
Don’t forget to label your jars with the date they were canned. This will help you keep track of freshness.
Conclusion
Making and canning your chili allows you to enjoy a homemade meal with minimal effort later on. With a few simple steps, you can create a delicious canned chili recipe that’s perfect for busy weeknights, camping trips, or any time you crave a comforting bowl of chili. Follow this guide to prepare and preserve your chili, and you’ll always have a delicious meal ready to go.


