Imagine opening your pantry and seeing shelves lined with glistening jars filled with golden potato, each one a promise of hearty meals, comforting side dishes, and endless culinary possibilities. Whether you’re preparing for the chilly winter months or simply wanting to savor the farm-fresh goodness year-round, canning potatoes is an invaluable skill for any home cook. With this easy canning recipe, you’ll learn how to preserve potatoes in a way that locks in their flavor, texture, and nutritional value, transforming meal prep into a breeze. From soups to stews or quick side dishes, these preserved potatoes ensure convenience without compromising on taste. Join us as we explore the simple, rewarding process of canning potatoes for your pantry.
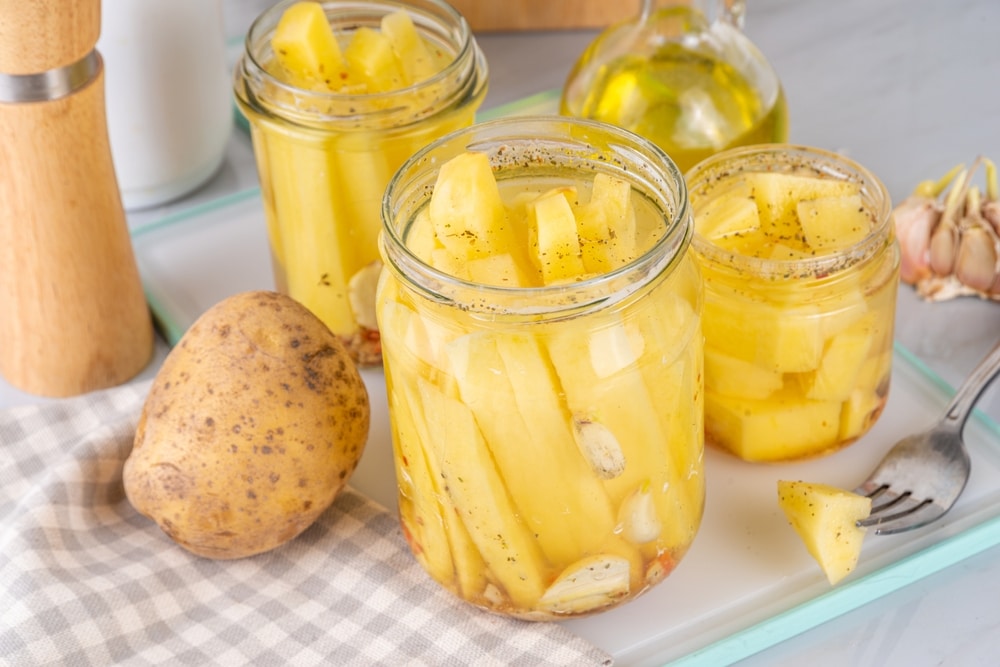
Selecting and Preparing Potato
When choosing potatoes for canning, opt for medium to small potatoes. These sizes ensure even cooking and canning. Avoid using very starchy varieties, as the amount of starch can affect the quality of the canned potatoe. Red potatoe and Yukon Gold are excellent choices.
Preparing the Potatoes
Skin potatoes and remove any blemishes or eyes.
Rinse them thoroughly under cold water.
If using larger potatoes, cut potatos into uniform chunks or slices.
Equipment Needed
Pressure canner: Essential for safely canning low-acid foods like potatoes.
Quart jar: Typically used for canning potatoes, but pint jars are also suitable.
Dial gauge or weighted gauge: To monitor pressure accurately.
Canning salt: Enhances flavor and preserves the texture of potatoes.
Large pot of water: For boiling and preparing potatoes.
Step by Step Canning Process
Fill a large pot of water and bring it to a boil. Add your prepared potato and cook for 2-3 minutes. This process heats the hot potato and removes some of the starch.
Remove the potatoes from the boiling water and plunge them into cold water to stop the cooking process. Drain thoroughly.
Packing the Jars
Sterilize your quart jars and lids.
Pack the hot potatoes into the jars, leaving about 1-inch headspace at the top.
Add 1 teaspoon of canning salt per quart jar (or 1/2 teaspoon per pint jar) for flavor.
Adding Liquid
Pour boiling water over the potatoes in the jars, maintaining the 1-inch headspace.
Remove any air bubbles by running a non-metallic spatula around the inside of the jar.
Sealing the Jars
Wipe the rims of the jars with a clean, damp cloth.
Place the lids on the jars and screw on the bands until fingertip tight.
Processing the Jars
Place the jars in the pressure canner on the rack, ensuring they do not touch each other.
Add the recommended amount of water to the canner, typically 2-3 inches.
Secure the lid and allow the canner to vent steam for 10 minutes before placing the weight or dial gauge on the vent.
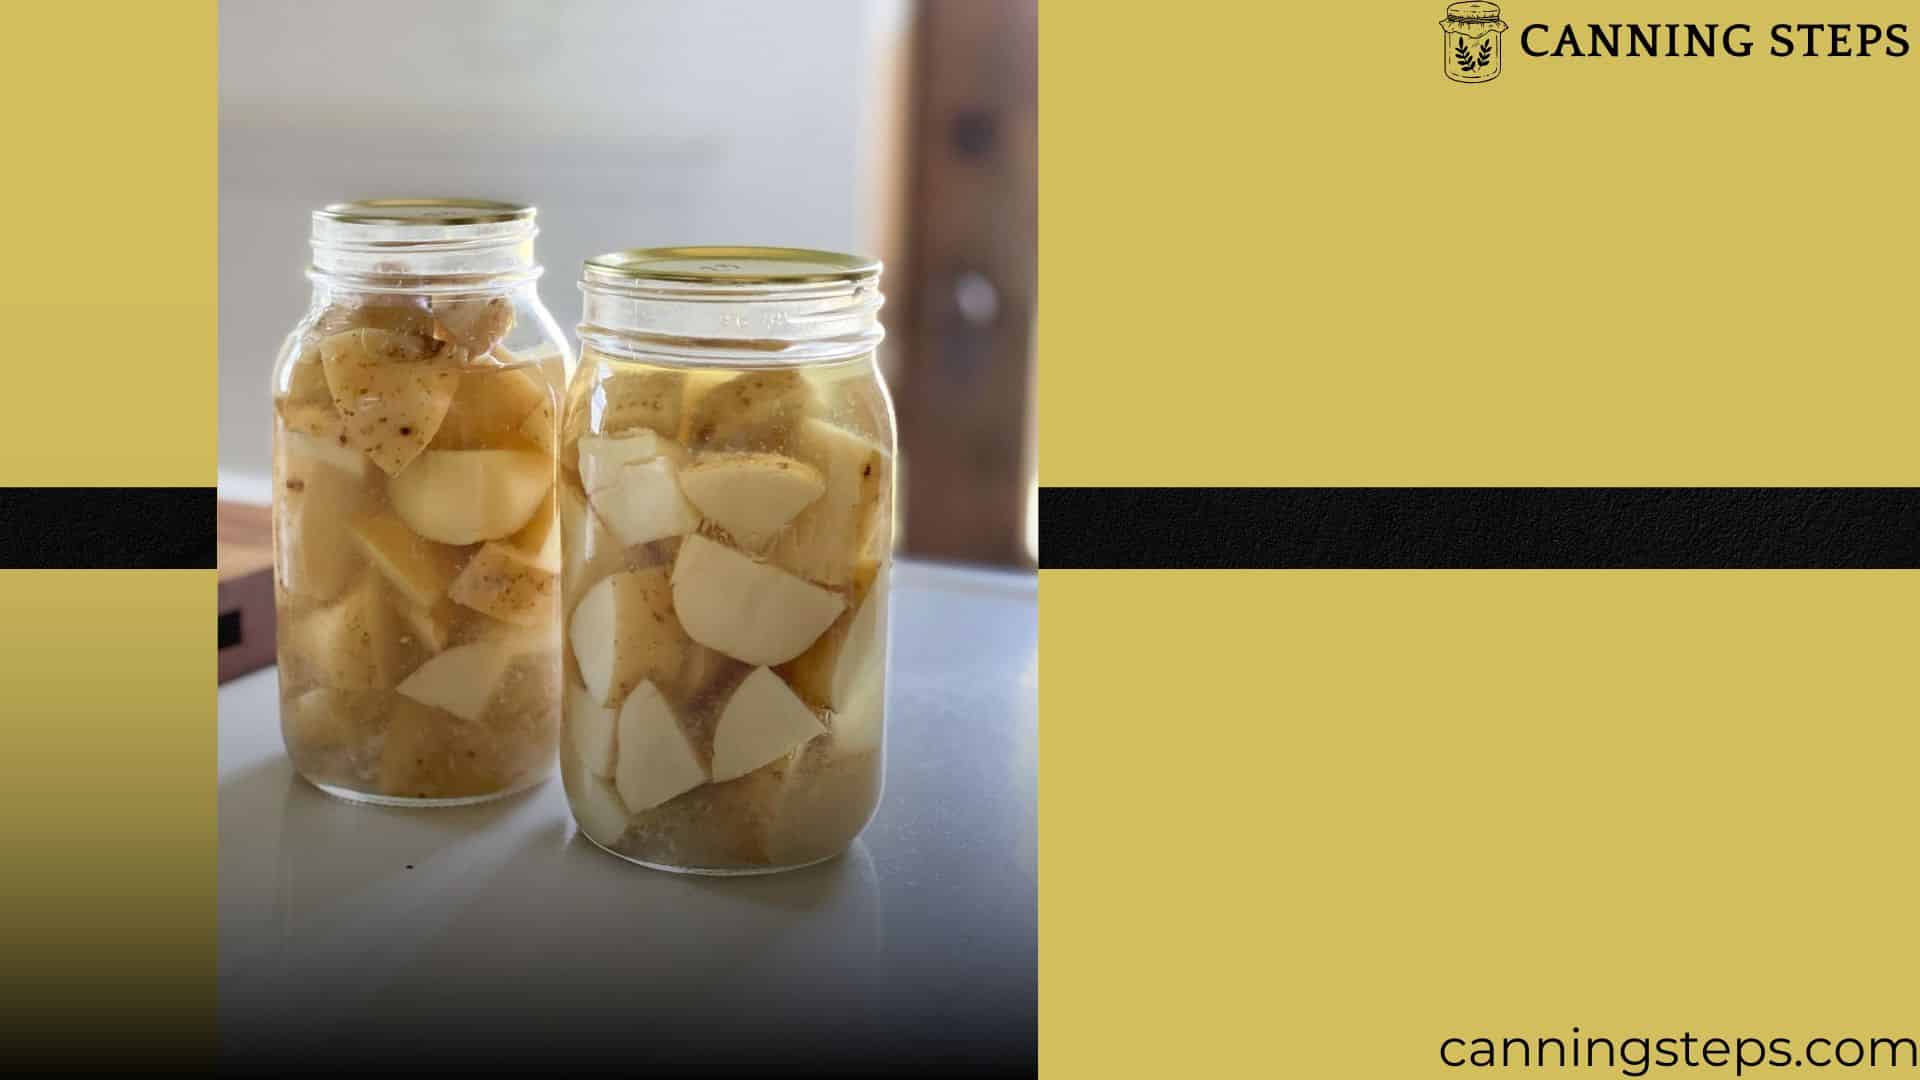
Pressure Canning Potato
Process the jars at 10-11 pounds of pressure (depending on your altitude) for 35 minutes for pint jars and 40 minutes for quart jars.
Adjust the pressure according to your altitude, following the pressure canner manufacturer’s guidelines.
Cooling and Storing
Once the processing time is complete, turn off the heat and let the canner depressurize naturally.
Remove the jars and place them on a towel-lined surface. Allow them to cool for 12-24 hours.
- Check the seals by pressing down on the center of each lid. If it does not pop back, the jar is sealed correctly.
- Store potato in a cool, dark place.
Conclusion
Canning potatoes is a practical and rewarding way to enjoy their wholesome goodness year-round. By selecting the right potatoes, such as Red or Yukon Gold, and following proper preparation and pressure canning techniques, you can ensure safety, quality, and flavor in every jar. With the convenience of canned potatoes, meal prep becomes a breeze—perfect for soups, stews, mashed dishes, or quick roasted sides. By storing them in a cool, dark place, your pantry will always have a supply of versatile, ready-to-use potatoes. Embrace this timeless preservation method to enjoy the taste of fresh potatoes whenever you need them.


