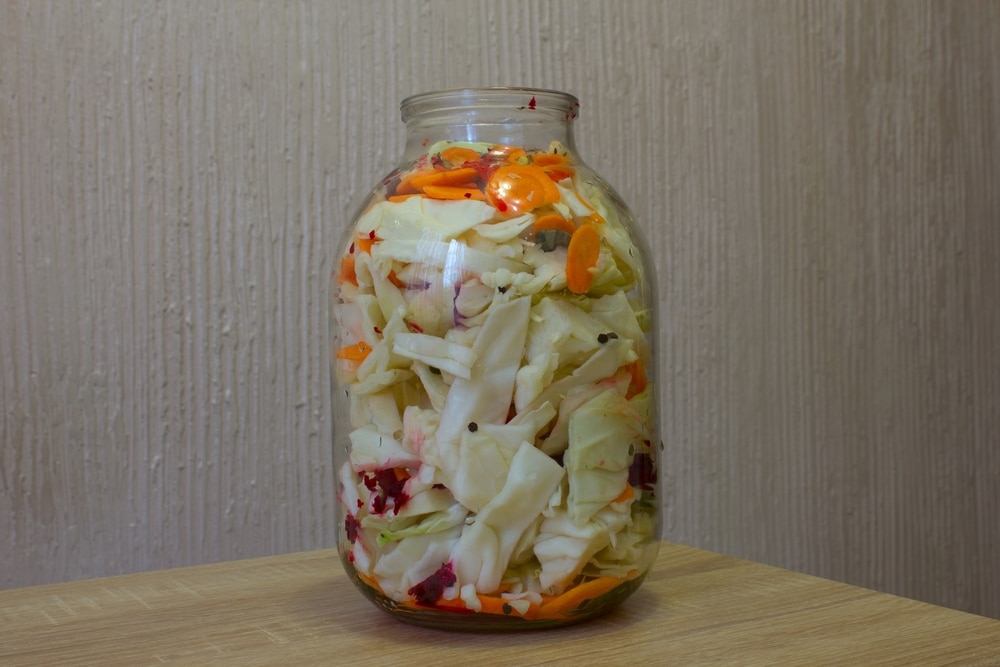
Cabbage is an incredibly versatile vegetable, rich in nutrients and commonly used in a variety of dishes such as soups, stews, salads, and slaws. Preserving cabbages through canning ensures you can enjoy its benefits long after the harvest season. Canning is an excellent way to store it for future meals and allows you to create delicious sauerkraut, pickled cabbages, and other flavorful preparations.
In this detailed guide, we will explore the process of canning cabbages step by step. From selecting the right ingredients to using the proper canning method, you’ll have everything you need to preserve this nutritious vegetable for months to come successfully.
Benefits of Canning Cabbages
Before diving into the canning process, it’s important to understand the many advantages of preserving cabbages through this method.
- Long-Term Preservation: Canning allows you to store cabbages for up to a year, ensuring you have access to them even when it’s out of season.
- Versatility: Once canned, cabbages can be used in various recipes, including soups, salads, stir-fries, and side dishes.
- Convenience: Canned cabbage is pre-prepared and ready to use, saving time in meal preparation.
- Nutrient Preservation: Canning cabbage helps retain many of its vitamins and minerals, especially when done properly.
Now that you understand the benefits of canning cabbages, let’s move on to the steps involved.
Selecting and Preparing Cabbage for Canning
The first and perhaps most important step in canning cabbage is selecting high-quality cabbages. Fresh, firm, and undamaged vegetable ensures successful canning and a tasty end product.
1. Choosing the Right Cabbage
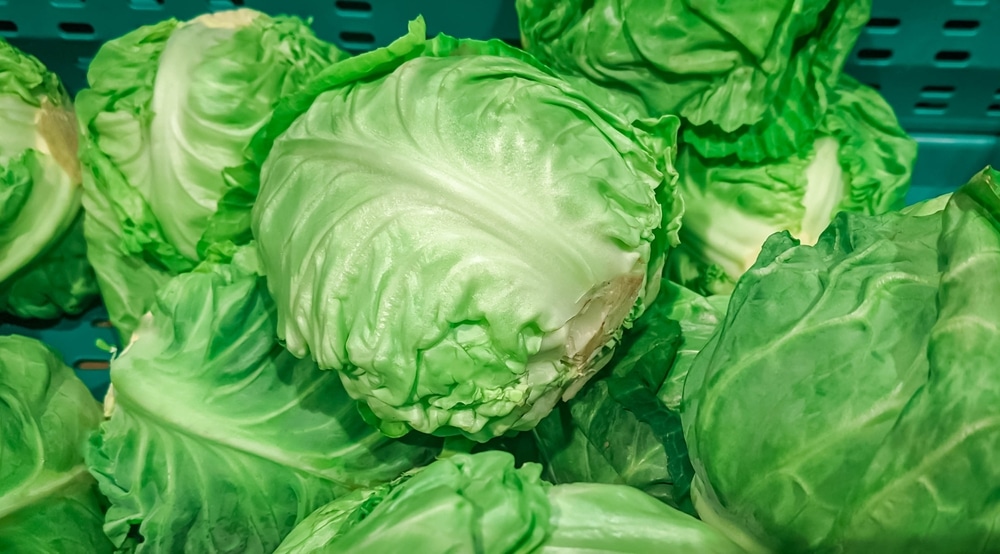
- Freshness: Look for firm, dense cabbage heads that feel heavy for their size. Avoid any that have soft spots, brown edges, or wilted leaves.
- Type: Green cabbage is the most commonly canned variety, but you can also use red cabbage or savoy cabbage for a different flavor profile.
- Size: Choose medium to large heads of cabbage, as they are easier to work with during the slicing process.
2. Cleaning and Preparing Cabbage
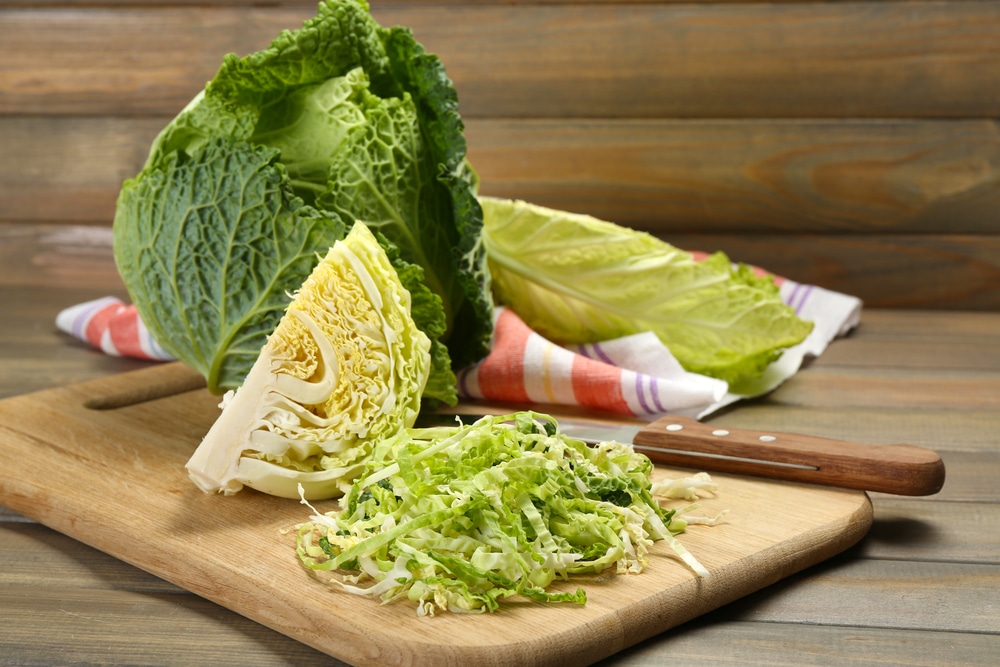
Once you’ve selected the perfect vegetable, the next step is to prepare it for canning.
- Remove Outer Leaves: Peel away any tough or damaged outer leaves from the cabbage head.
- Rinse: Thoroughly rinse the cabbage under cold water to remove any dirt, pesticides, or insects that may be hidden in the layers.
- Cutting: Quarter the cabbage heads and remove the core from each section. Then, thinly slice the cabbage to your desired thickness. If you’re making sauerkraut, a finer shred is ideal, while larger slices work well for pickled cabbage.
3. Optional Pre-Treatment
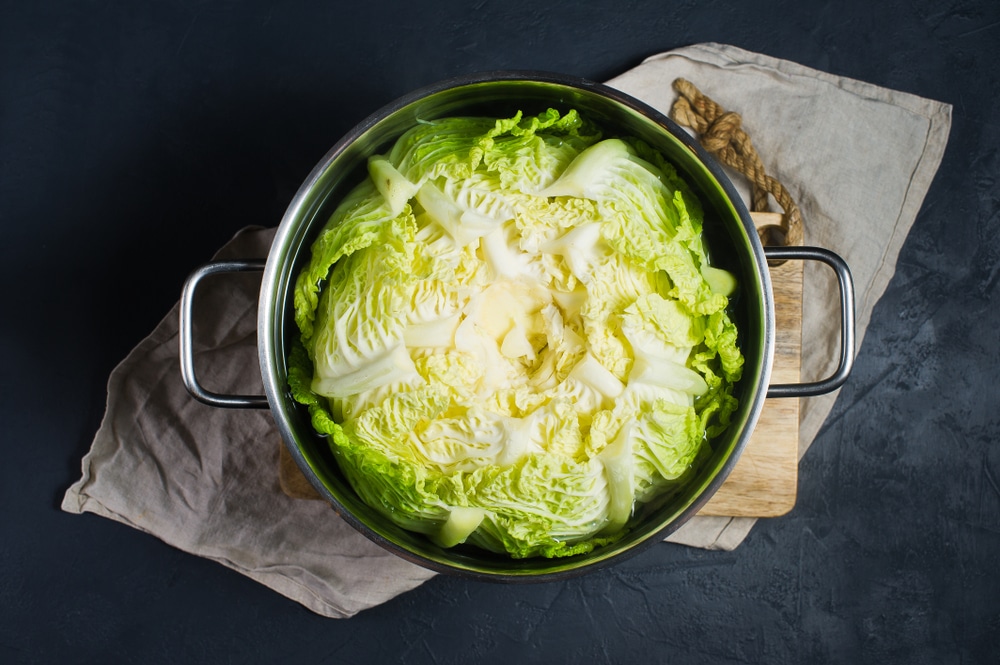
Before moving on to the canning process, some recipes recommend blanching the cabbage. This involves briefly boiling the cabbage to soften it slightly before packing it into jars.
- Blanching: Boil the cabbage in a pot of water for 1-2 minutes, then immediately transfer it to an ice bath to stop the cooking process. Drain the cabbage well before packing it into jars.
- Benefits of Blanching: This step can help preserve the cabbage’s texture and color during the canning process, although it’s not always necessary, depending on the recipe you’re using.
Preparing Your Canning Equipment
Proper preparation of your canning equipment is critical to ensure that the cabbage is safely preserved and doesn’t spoil. You will need canning jars, lids, rings, and a water bath canner.
1. Sterilizing Jars and Lids
- Wash: Start by washing your jars, lids, and rings in hot, soapy water, rinsing them thoroughly to remove any residue.
- Sterilize: Place the clean jars in a pot of boiling water for 10 minutes to sterilize them. Keep the jars warm until you’re ready to pack them.
- Lids and Rings: While it’s not necessary to boil the lids and rings, make sure they are clean and ready for use.
3. Prepare the Pickling Brine (For Pickled Cabbage)
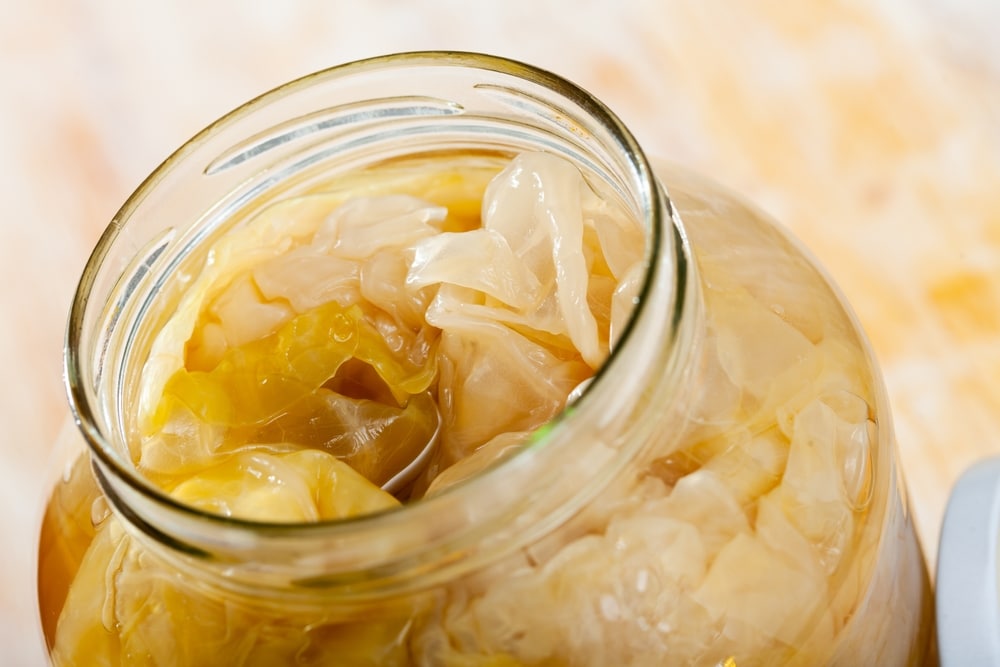
If you’re making pickled cabbage, you’ll need to prepare a vinegar-based brine to fill the jars. This brine helps preserve the cabbages and adds flavor.
Brine Ingredients
The typical pickling brine consists of vinegar, water, salt, and sometimes sugar. You can also add spices like mustard seeds, dill, or garlic to enhance the flavor.
Heating the Brine
Bring the vinegar, water, and salt to a boil in a pot. Once it reaches a rolling boil, it’s ready to pour over the cabbages in the jars.
Canning Methods
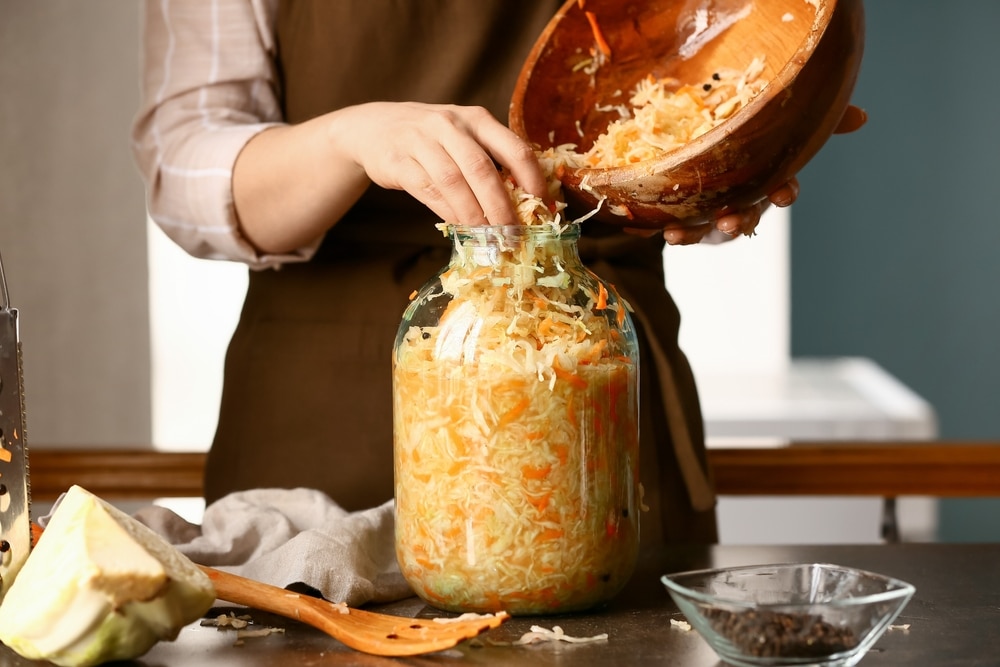
Canning cabbage can be done using two primary methods: fermentation for sauerkraut and water bath canning for pickled or plain cabbage. The method you choose depends on the type of product you want to create.
1. Fermenting Cabbage for Sauerkraut
Fermentation is the traditional method for making sauerkraut, a tangy, probiotic-rich dish made from cabbages. This method doesn’t require a water bath or pressure canner, but it does take time to achieve the desired flavor.
Salting the Cabbage
After shredding the cabbage, sprinkle pickling salt over the cabbage at a ratio of 3 tablespoons per 5 pounds of cabbage. The salt draws out moisture and helps create the brine needed for fermentation.
Packing
Pack the salted cabbages tightly into sterilized jars, pressing them down firmly to release juices. The cabbage should be completely submerged in its own brine.
Fermentation Process
Cover the jars loosely with a cloth or lid, ensuring they are not tightly sealed. Allow the cabbage to ferment in a cool, dark place for 2-4 weeks. Periodically check to make sure the cabbage remains submerged in the brine.
Final Sealing
Once the cabbage has fermented to your liking, seal the jars with sterilized lids and store them in a cool, dark place.
2. Water Bath Canning
For those who prefer pickled cabbage or simply want to preserve cabbage without fermenting, the water bath canning method is the best choice.
Filling the Jars
Pack the sliced cabbages (blanched or unblanched) into sterilized jars, leaving about ½ inch of headspace at the top.
Adding the Brine
Pour the hot pickling brine over the cabbage, ensuring that it is completely submerged. Use a non-metallic spatula to release any trapped air bubbles.
Sealing the Jars
Wipe the rims of the jars clean, place the lids on top, and screw on the rings until they are fingertip tight.
Processing in a Water Bath
Place the filled jars in a water bath canner, making sure they are fully submerged in water. Bring the water to a boil and process the jars for 10-15 minutes, depending on your recipe.
Cooling
Once the jars have finished processing, carefully remove them and place them on a towel to cool. Allow them to sit undisturbed for 24 hours.
You can preserve the goodness of your favorite vegetable in cans, whether it is canning tomato or tangy cucumber pickle.
Storing and Using Your Canned Cabbages
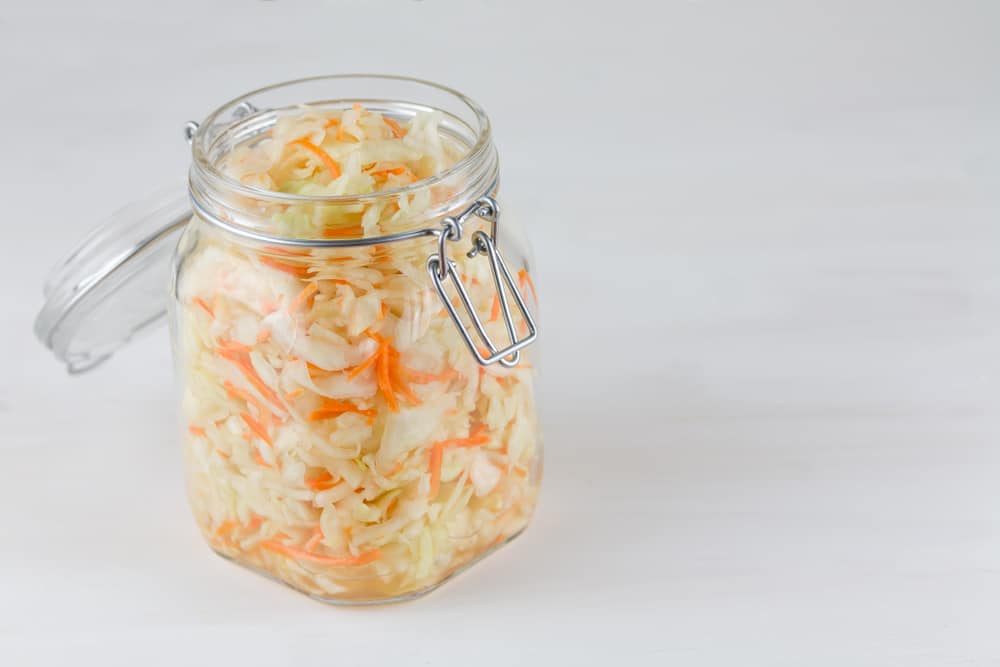
After your jars have cooled and sealed, label them with the date and contents. Store the jars in a cool, dark place, such as a pantry or cellar, where they can last up to a year.
1. Checking for Seals
Before storing your canned cabbage, always check the seals to ensure the jars are properly preserved. Press down on the center of each lid; if it doesn’t pop back, the jar is sealed correctly.
2. Uses for Canned Cabbages
Sauerkraut
Serve as a side dish, add to sandwiches, or use as a topping for sausages.
Pickled Cabbages
Enjoy with salads, tacos, or on top of burgers for a tangy kick.
Plain Canned Cabbages
Add to soups, stews, stir-fries, or casseroles for an easy, nutritious ingredient.
Safety Tips for Canning Cabbages
When canning any food, it’s important to follow safety guidelines to prevent contamination or spoilage.
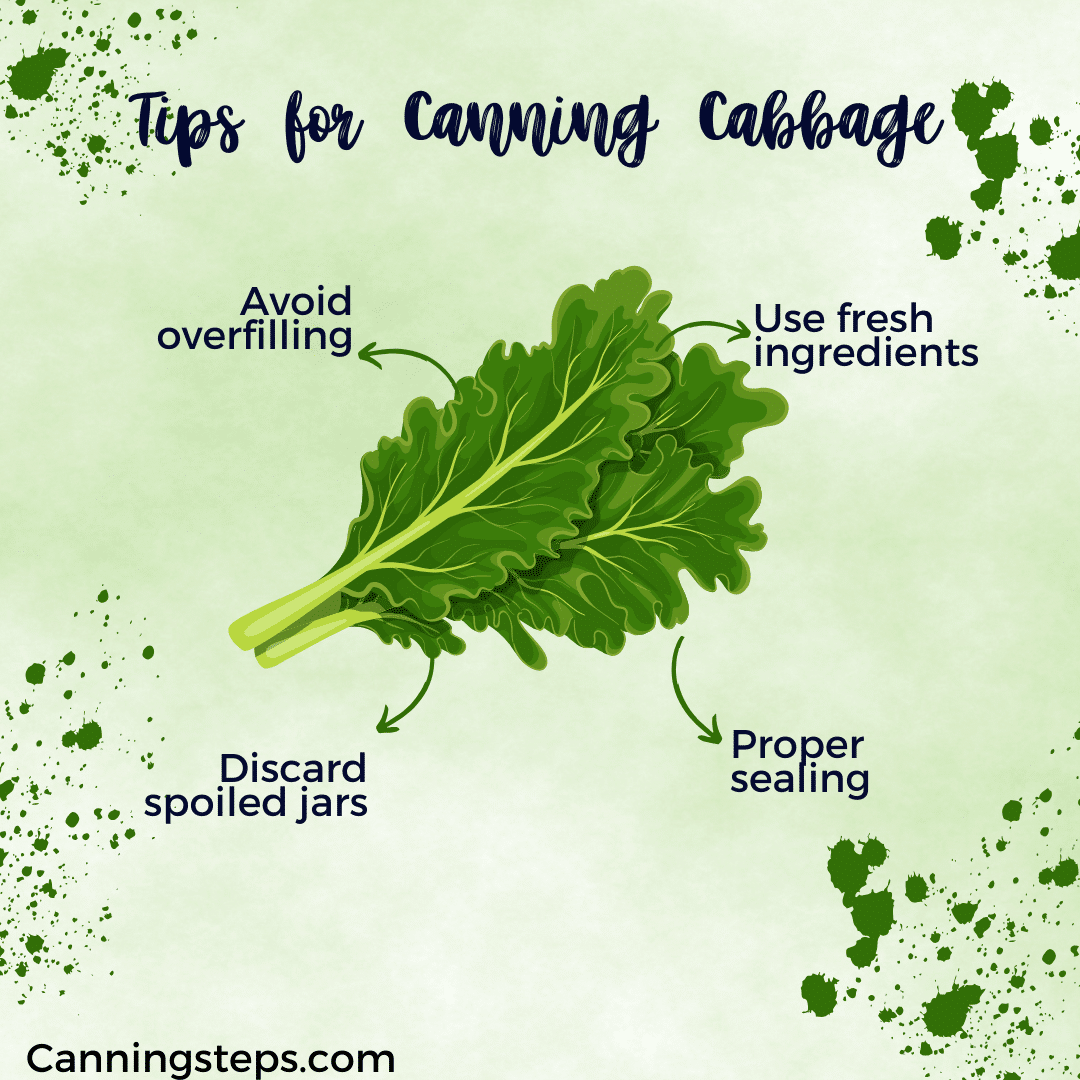
Use Fresh Ingredients
Only use fresh, high-quality cabbages and other ingredients to ensure the best preservation results.
Proper Sealing
Always check the seals on your jars after processing. Improperly sealed jars can lead to spoilage or foodborne illness.
Avoid Overfilling
Leave enough headspace in the jars to allow for expansion during the canning process. Overfilled jars may not seal properly.
Discard Spoiled Jars
If any jars have a broken seal, off smell, or visible mold, discard the contents immediately.
Conclusion
Canning cabbage is an excellent way to preserve this nutrient-dense vegetable for year-round use. Whether you’re making tangy sauerkraut, pickled cabbages, or storing plain cabbages for soups and stews, following these detailed steps will ensure success. With the right preparation and proper canning techniques, you can enjoy the freshness and flavor of cabbages long after the growing season ends.


